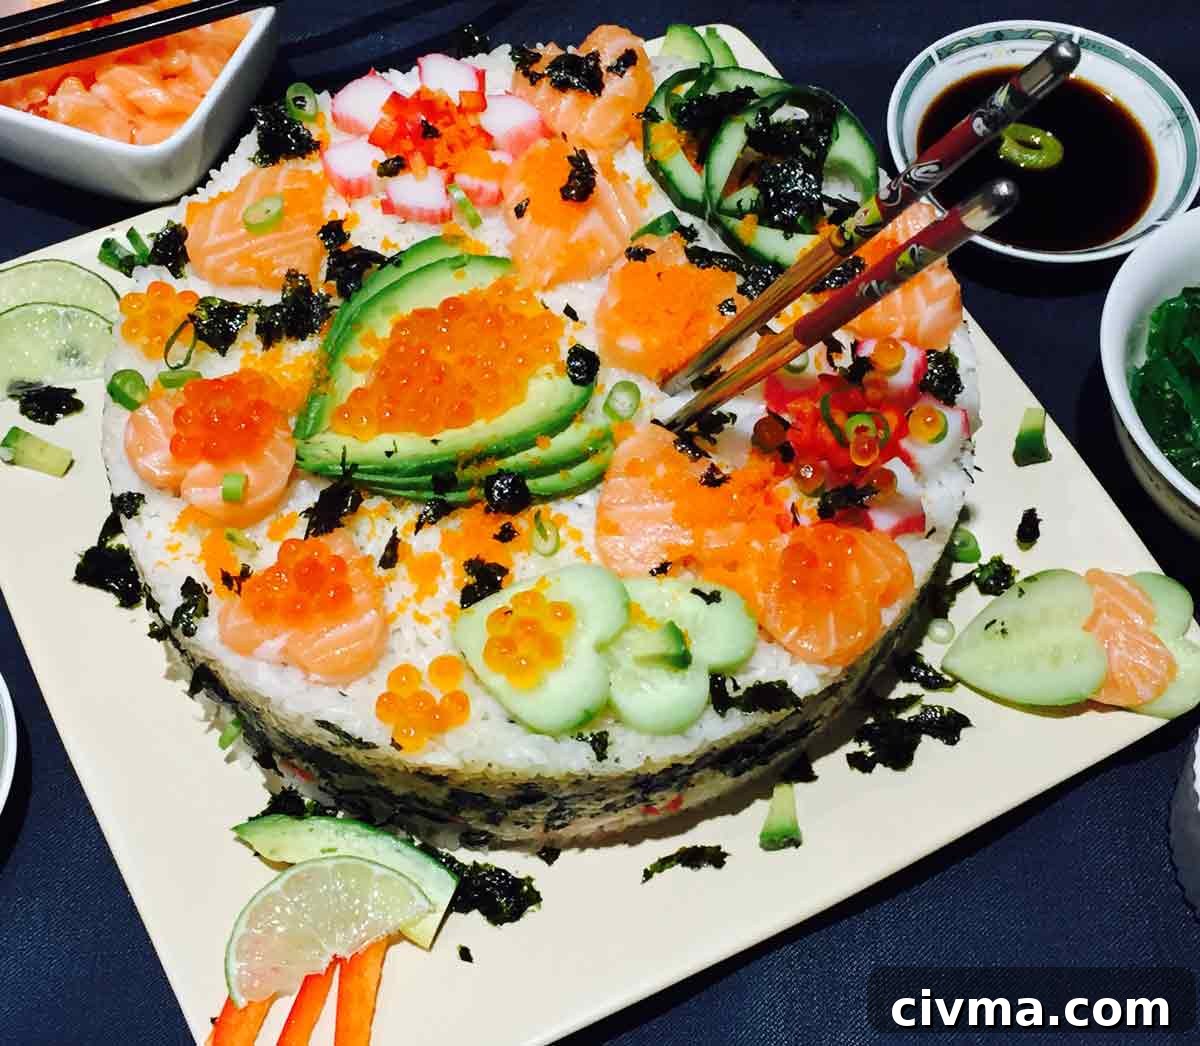
This homemade sushi cake is a wonderful, easy-to-make alternative to rolled sushi. I call it a “cake” because I assemble it in a springform tin and it looks just like a layered cake. It’s versatile, family-friendly, and perfect when you want sushi without the fuss of rolling.
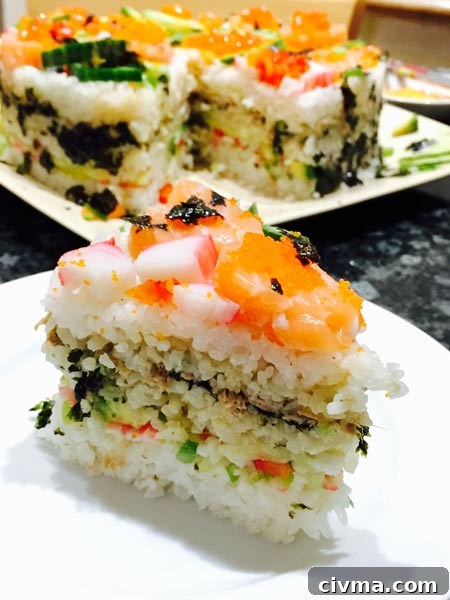
I usually make it with three rice layers, but you can adapt the number of layers to suit your tin and preferences. The recipe below explains a reliable technique that keeps the rice compact and the layers intact so you get neat, sliceable pieces every time.
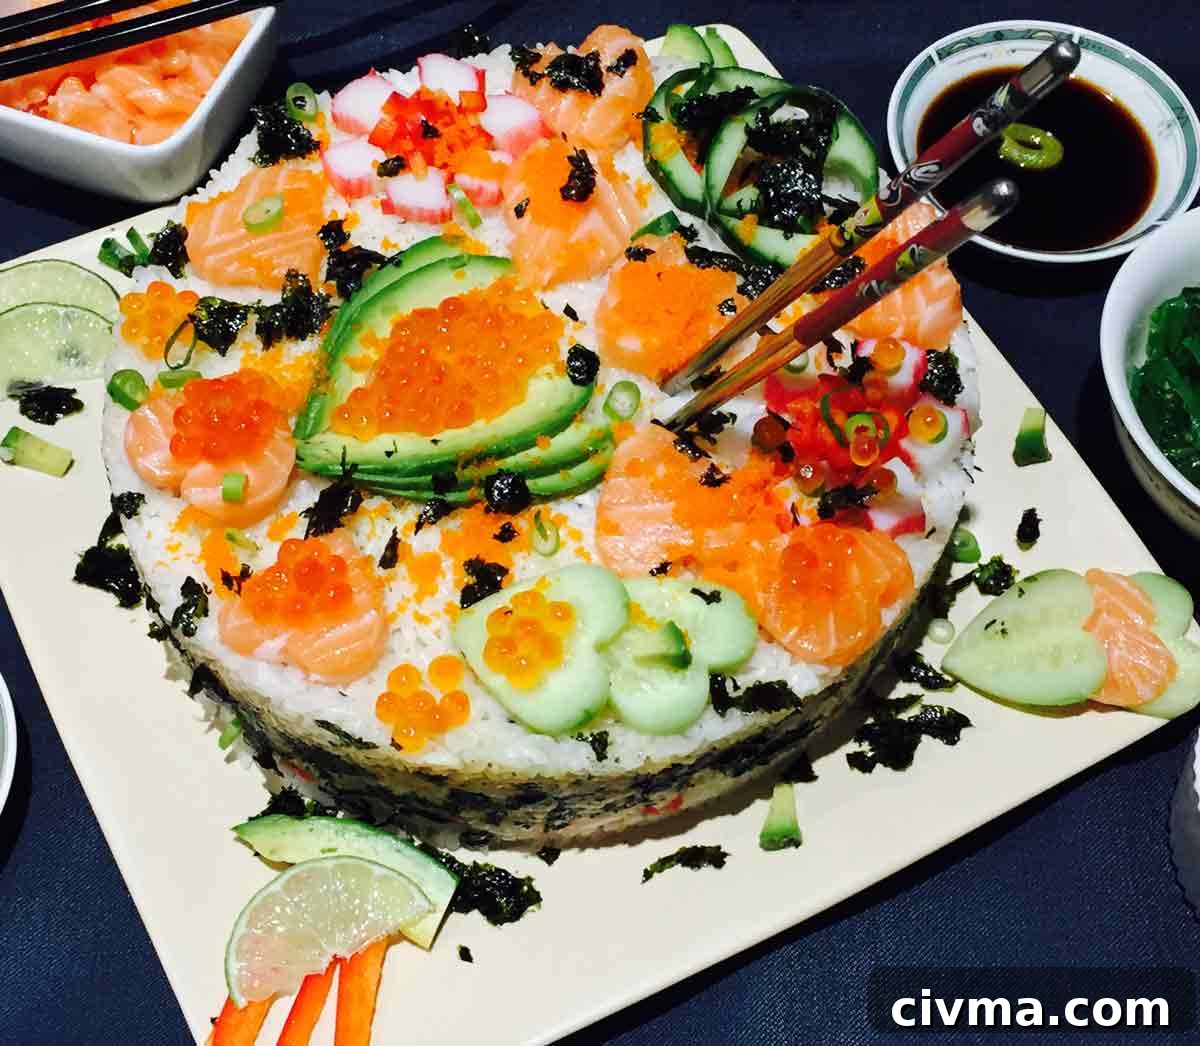
The idea for this sushi cake began in 2016. At first I saw only stacked sushi rolls online, which wasn’t what I had in mind. My early attempts were tasty but messy, with rice scattering everywhere. Over time I refined the method so the rice binds better and the cake holds together neatly. The taste was excellent from the start; the technique just needed work.
❓How the sushi cake idea started
One day we craved sushi but I didn’t have my sushi-making kit. Instead of driving out for supplies, I improvised by layering seasoned sushi rice with fillings and assembling everything in a cake tin. My kids—then small—were excited to help chop and assemble. We used what was in the fridge, including canned tuna for the filling, and loved the result. Since then this sushi cake has been a regular at home, especially when fresh fish isn’t available.
💟 Our love for sushi — and for this cake
My family discovered sushi together and quickly became hooked. After trying sushi at an authentic local restaurant, I signed up for a sushi-making class so I could prepare it at home. This layered sushi cake is now our go-to: kids often ask for it, and it’s even requested as a birthday ‘sushi cake’. It’s a simple, satisfying way to enjoy the flavours of sushi at home.
👩🏻🍳Why this recipe works
- Delicious and familiar sushi flavours;
- No rolling required — easier to assemble;
- No special tools or advanced skills needed;
- Flexible: you can use fresh or canned fish and many different fillings;
- Quick to prepare and serves well for gatherings.
Most importantly, the format allows you to be creative with fillings, toppings and presentation. Make it colourful and balanced for the best results.
🥒Ingredients for sushi cake
These are the ingredients I typically use. Quantities are given in the recipe card below.
For the rice:
- sushi rice (short-grain Japanese rice)
- rice vinegar (sushi vinegar or seasoned vinegar)
- water
For the filling:
- tuna (canned in water or brine) — or substitute with fresh sushi-grade fish or smoked fish if available
- lemon or lime juice
- spring onions / scallions
- red pepper (finely diced)
- avocado (ripe)
- sriracha or other hot sauce (optional)
- mayonnaise (regular or avocado mayonnaise)
- salt and freshly ground pepper
For decorating and serving:
- cucumber, thinly sliced or diced
- additional avocado slices
- surimi or crab sticks (optional)
- seaweed sheets or small roasted seaweed flakes
- fish roe (optional)
- pickled ginger, soy sauce, and wasabi to taste
- sesame seeds, togarashi or fresh herbs for garnish
🤹🏻♀️Variations
- Mix furikake seasoning into the rice for added umami.
- Add a spicy layer made from chopped sushi-grade salmon or tuna mixed with Japanese mayo, sriracha, soy and sesame oil.
- Layer very thin cucumber or avocado slices for extra texture and creaminess.
💡Tips and ideas
Use a springform tin: A springform or removable-bottom cake tin makes shaping and unmolding the sushi cake much easier. Lightly oil the tin or line it with seaweed sheets to help release the cake.
Press the cake before serving: After assembling, press the cake gently with a slightly smaller tin or plate and weight it for 20–30 minutes. This firms up the layers and helps you cut clean slices.
Presentation: Garnish with thin avocado slices, sesame seeds, pieces of nori, pickled ginger and a sprinkle of togarashi or scallions for color and flavour contrast.
💭Recipe FAQs
What fish should I use?
Use the freshest, sushi-grade fish available for raw layers. If you don’t have access to sushi-grade fish, canned tuna or smoked fish make safe, tasty alternatives. The beauty of this recipe is its flexibility — it works well with both fresh and canned options.
Can I freeze the sushi cake?
No. This dish tastes best freshly made. Freezing would negatively affect the rice texture and the freshness of the toppings.
Is the sushi cake difficult to make?
Not at all. The most time-consuming part is preparing and chopping the fillings. Assembly is straightforward: layer rice and fillings in the tin, press, chill briefly, unmold and decorate.
👍Cook’s Tips
Source fresh fish when possible. Freshness matters if you’re using raw fish. If fresh sushi-grade fish aren’t available, use canned or smoked fish instead. Other tasty options include shredded cooked duck or cooked seafood. The cake is adaptable to what you have on hand.
If you prefer a firmer edge when unmolding the cake, line the tin with nori or lightly oil the sides. You can also crumble a few small seaweed pieces between layers to help release the cake.
⭐ Rate my sushi cake recipe
Have you tried this Homemade Sushi Cake? Please leave a rating and a comment telling me what you changed or how it turned out. Your feedback helps improve the recipe for everyone.
🍣 Homemade sushi cake
Easy sushi flavour without rolling — this layered sushi cake is quick to assemble and looks impressive on the table.
Equipment
- 1 chopping board
- 1 springform cake tin (removable bottom)
- 1 plate or pan for pressing the cake
- 1 sharp knife
Ingredients
For the rice
- 600 g sushi rice
- 600 ml water
- 120 ml sushi vinegar
For the spicy tuna filling
- 1 tin tuna (in brine)
- ⅓ lemon (or lime juice)
- 1 spring onion, chopped
- ½ red pepper, finely diced
- 1 small ripe avocado, mashed
- 1 tsp sriracha (optional)
- 1 tbsp mayonnaise
- Salt and freshly ground pepper to taste
Other ingredients
- 100 g cucumber, finely diced
- 100 g red pepper, finely diced
- 1 medium avocado, thinly sliced for topping
- ½ pack surimi, finely chopped (optional)
- 20 g seasoned roasted seaweed
- 2 spring onions, thinly sliced
- Soy sauce, wasabi and pickled ginger to serve
- Salmon roe or fish eggs (optional)
Instructions
- Rinse the sushi rice thoroughly under cold water until the water runs clear. Let the rice drain in a sieve for at least 20 minutes.
- Prepare the tuna mix: in a bowl, flake the canned tuna and mash with the avocado. Add lemon juice, chopped spring onion, red pepper, sriracha (if using), mayonnaise, salt and pepper. Mix until combined.
- Cook the rice: place rice and water in a pot, bring to a gentle boil, then reduce to the lowest heat, cover and simmer for about 9 minutes until done. Remove from heat and sprinkle the sushi vinegar evenly over the rice, then transfer to a wide dish to cool for about 15 minutes.
- Chop cucumber, additional peppers, surimi and any other fillings you plan to layer, and set aside.
- Prepare the springform tin by lightly oiling the sides or lining with seaweed sheets. Add a layer of rice (about one quarter of the total), pressing it down evenly with a spoon or spatula to create a compact base.
- Sprinkle a portion of the chopped fillings over the rice. Add another rice layer, press gently, then spread an even layer of the tuna filling. Repeat until you finish with a rice layer on top.
- Cover the assembled cake with cling film. Place a slightly smaller flat plate or the base of another tin on top, then add weight (bottles or jars) to press the cake for 20–30 minutes. This helps the cake hold together and makes clean slicing easier.
- Unmold the sushi cake, transfer it to a serving plate, and decorate with avocado slices, seaweed, fish roe, sesame seeds and scallions. Serve with soy sauce, pickled ginger and wasabi.
Notes
You can make 2–4 layers depending on your tin size. The cake can also be shaped square or rectangular if you prefer. Experiment with fillings and presentation — it’s a flexible recipe that adapts to what you have on hand.
Nutrition (per serving, approximate)
Calories: 463 kcal | Carbohydrates: 77 g | Protein: 15 g | Fat: 10 g