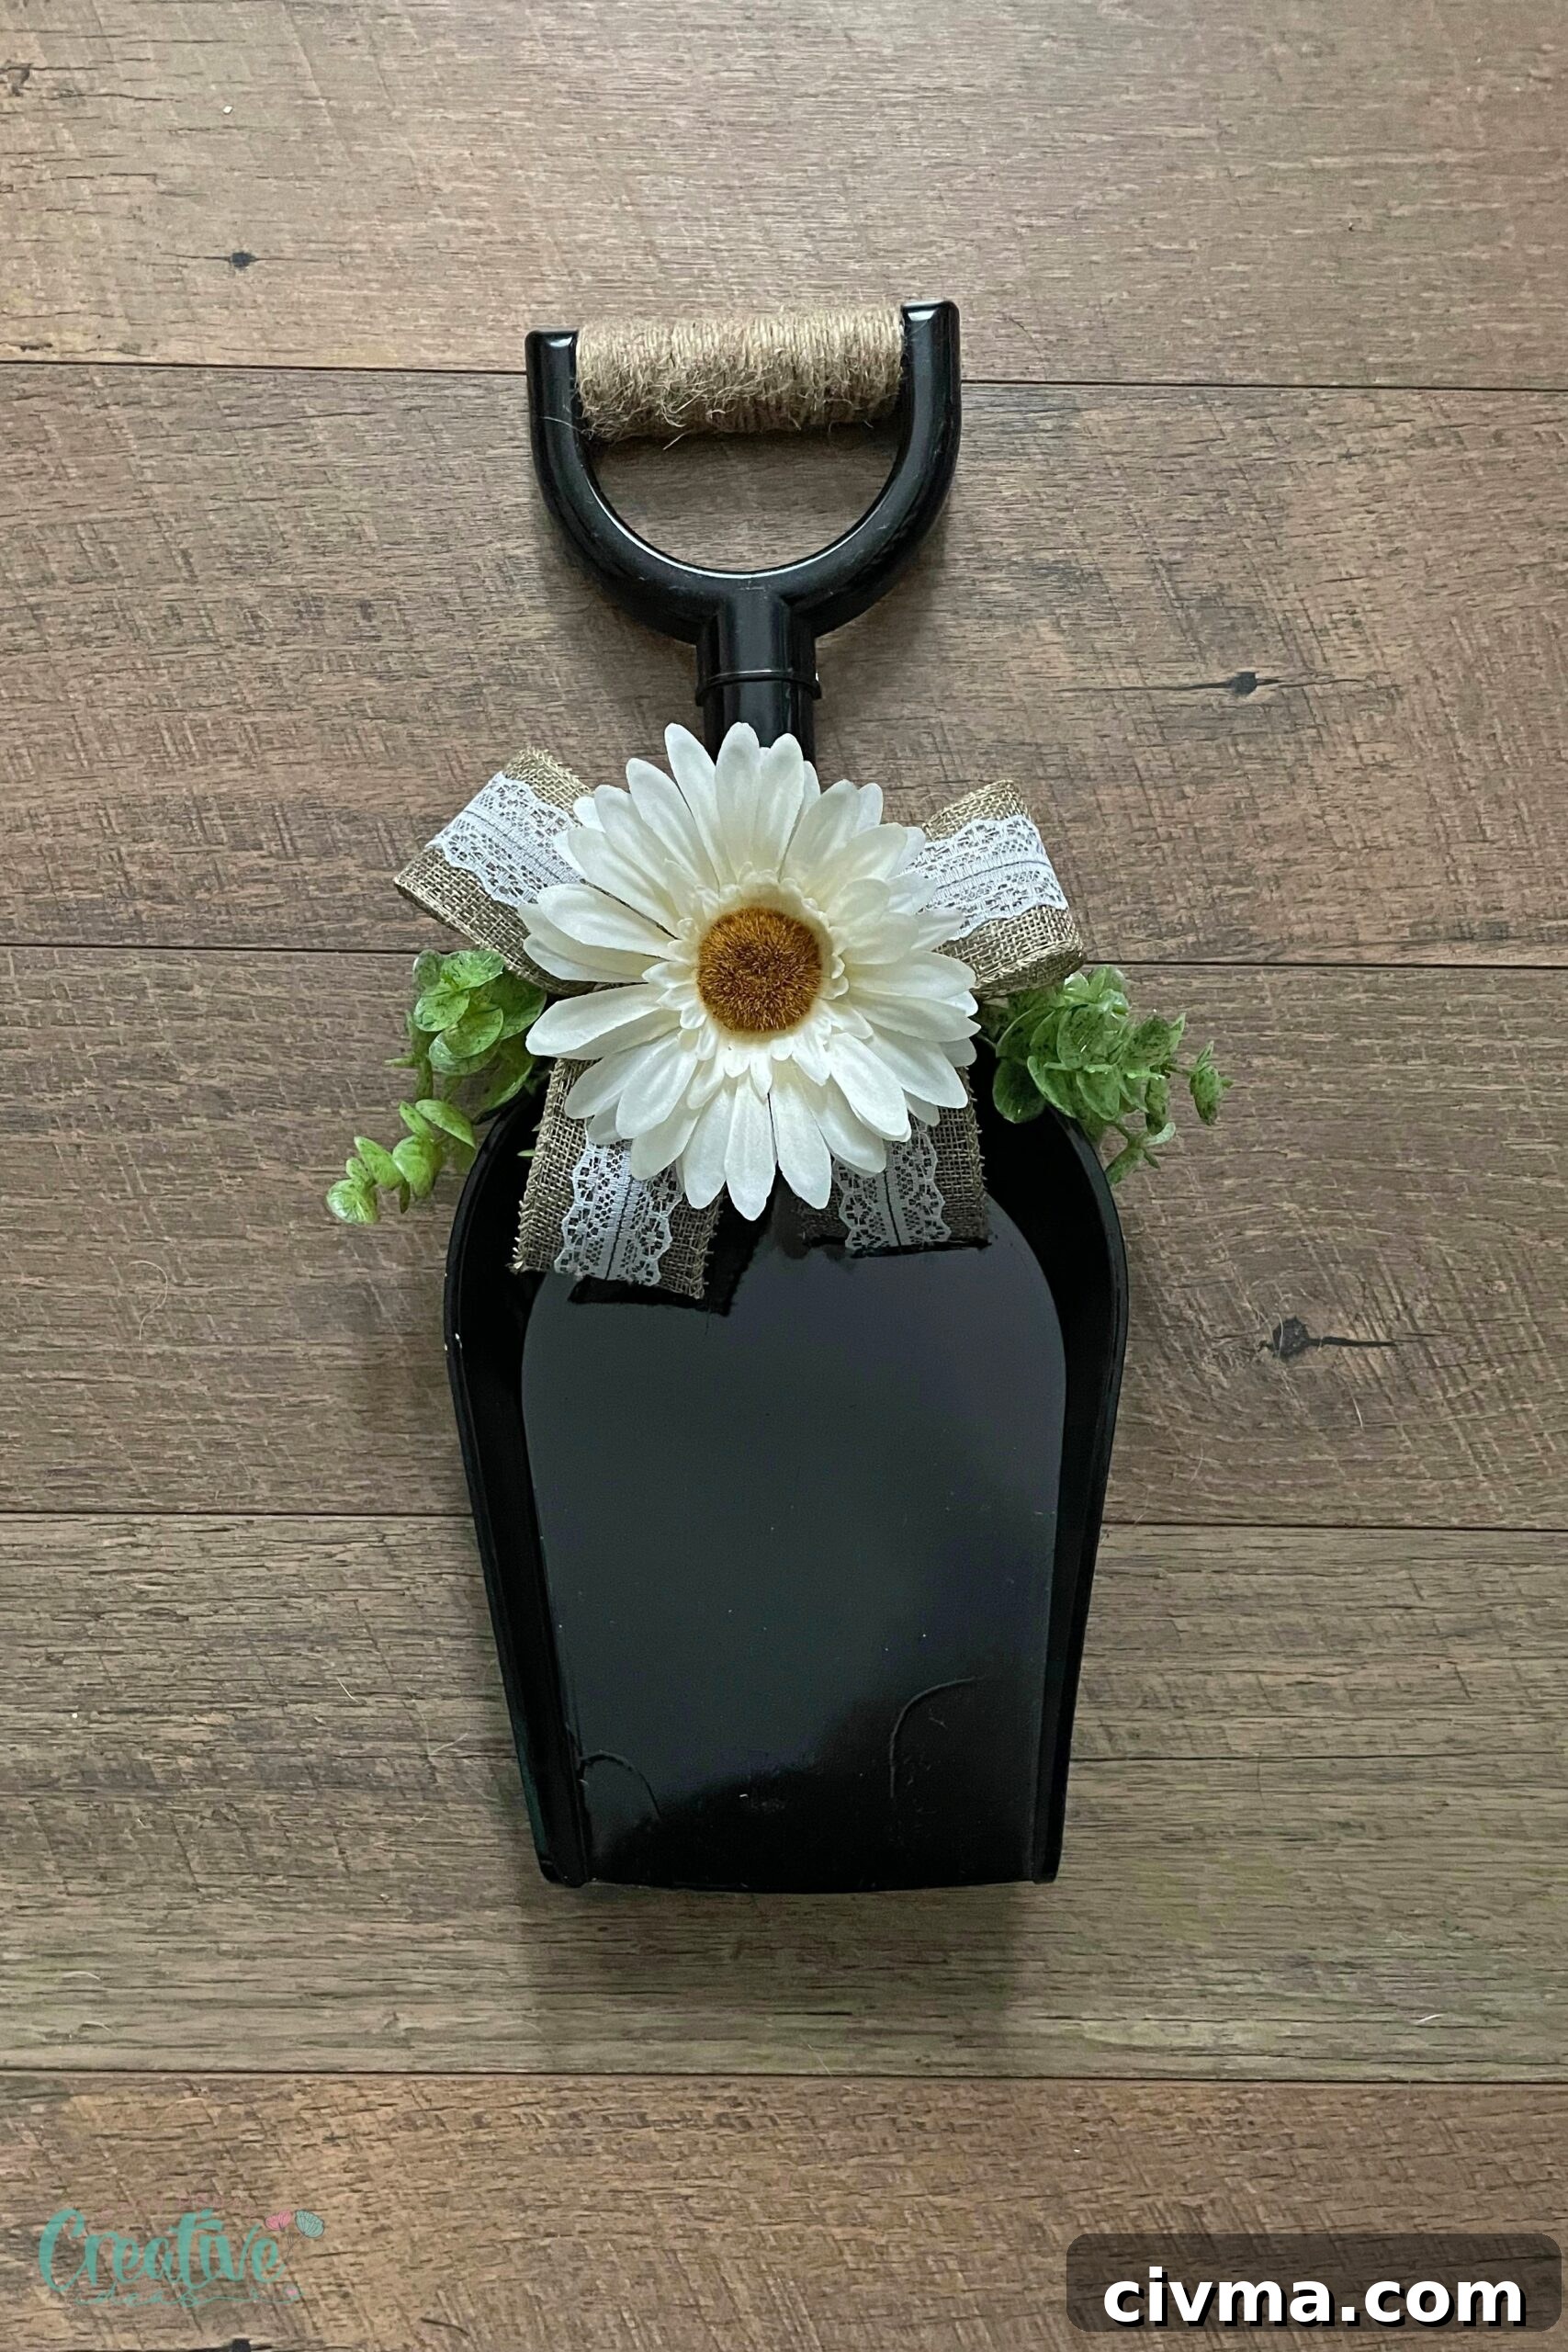
Create a charming farmhouse door wreath with this simple DIY tutorial. This rustic farmhouse wreath uses an unexpected base—a kids plastic shovel—along with faux greenery, burlap ribbon, and white gerber daisies to make a welcoming front door decoration with plenty of country-inspired character.
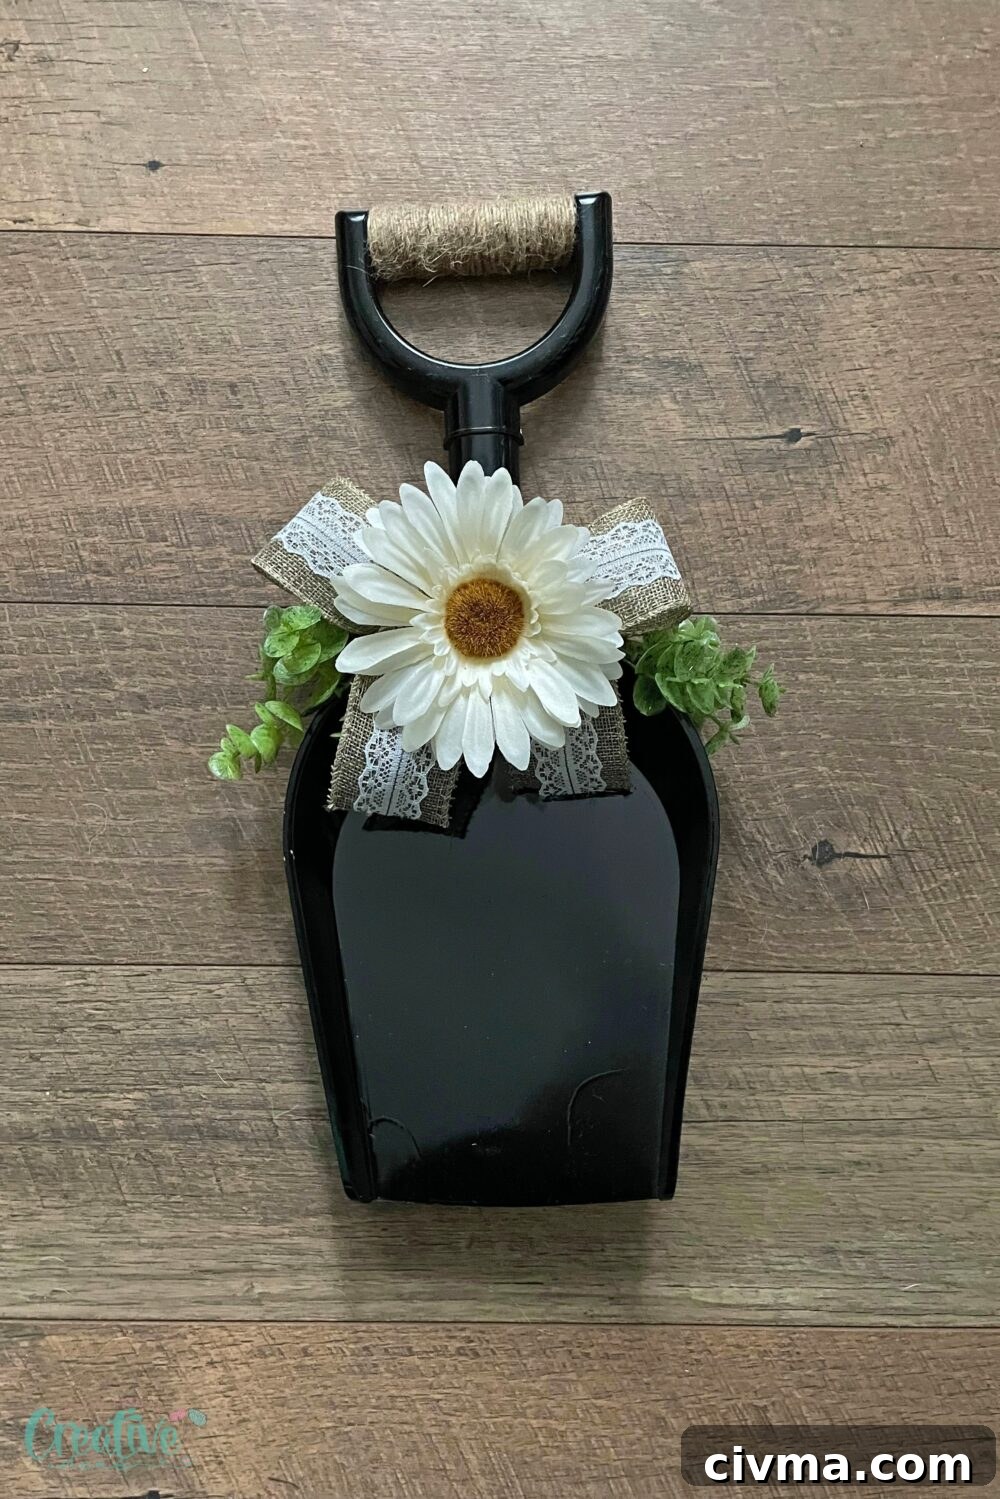
A handmade farmhouse door wreath is one of the easiest ways to refresh your entryway. It instantly makes the front of your home feel warmer, more personal, and more inviting. Whether you hang it on your front door, a porch wall, a garden shed, or an interior door, this project adds a rustic touch without needing complicated supplies or advanced crafting skills.
This farmhouse wreath DIY is especially fun because it does not use a traditional wreath form. Instead, the plastic shovel becomes the main shape and structure. Once painted and decorated, it turns into a unique piece of farmhouse door décor that feels playful, fresh, and handmade. The faux eucalyptus gives the design a soft green base, the burlap ribbon adds texture, and the white gerber daisy creates a clean focal point.
You can keep the finished wreath neutral for everyday use or adapt it for different seasons by changing the ribbon, flowers, or decorative accents. The project is budget-friendly, easy to customize, and a great way to make a rustic farmhouse wreath that reflects your own style.
How to make a farmhouse door wreath from a plastic shovel
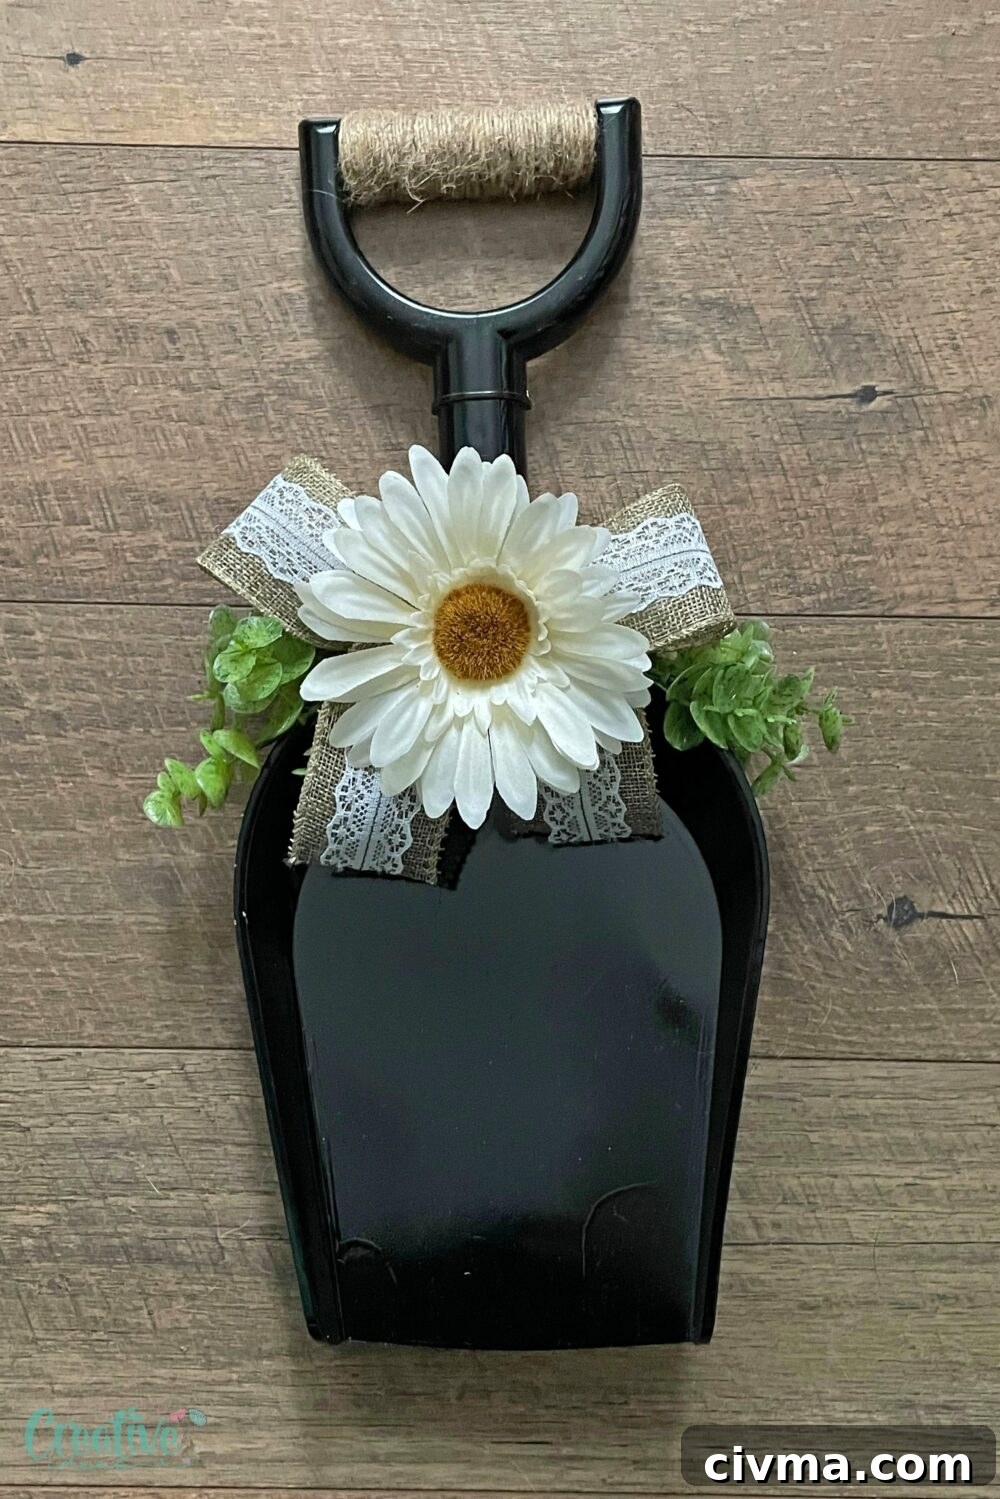
Materials you need
To make this farmhouse wreath for your front door, gather the following materials before you begin:
- Kids plastic shovel: This becomes the base of the wreath and gives the project its unique shape. It can be painted to match your décor.
- Faux eucalyptus: Faux greenery adds fullness, color, and a natural farmhouse look while staying low maintenance.
- Burlap ribbon: Burlap brings texture and rustic charm, making it ideal for a farmhouse-style bow.
- White gerber daisy bunch: These flowers brighten the wreath and create a simple, pretty focal point.
Equipment
Having your tools ready will make the project easier and help the wreath come together neatly.
- Glue gun: Use this to attach the greenery, bow, flower, and twine securely.
- Glue sticks: Keep extra glue sticks nearby so you do not have to stop midway through the craft.
- Black spray paint: This gives the plastic shovel a more polished farmhouse look.
- Twine: Twine adds rustic detail and works well for wrapping the shovel handle.
- Zip tie: Use a zip tie to hold the burlap bow firmly in the center.
- Scissors: You will need scissors for cutting ribbon, twine, and floral stems if needed.
Step-by-step Instructions
Preparations
- Place all materials and tools on a clean, flat work surface so everything is easy to reach.
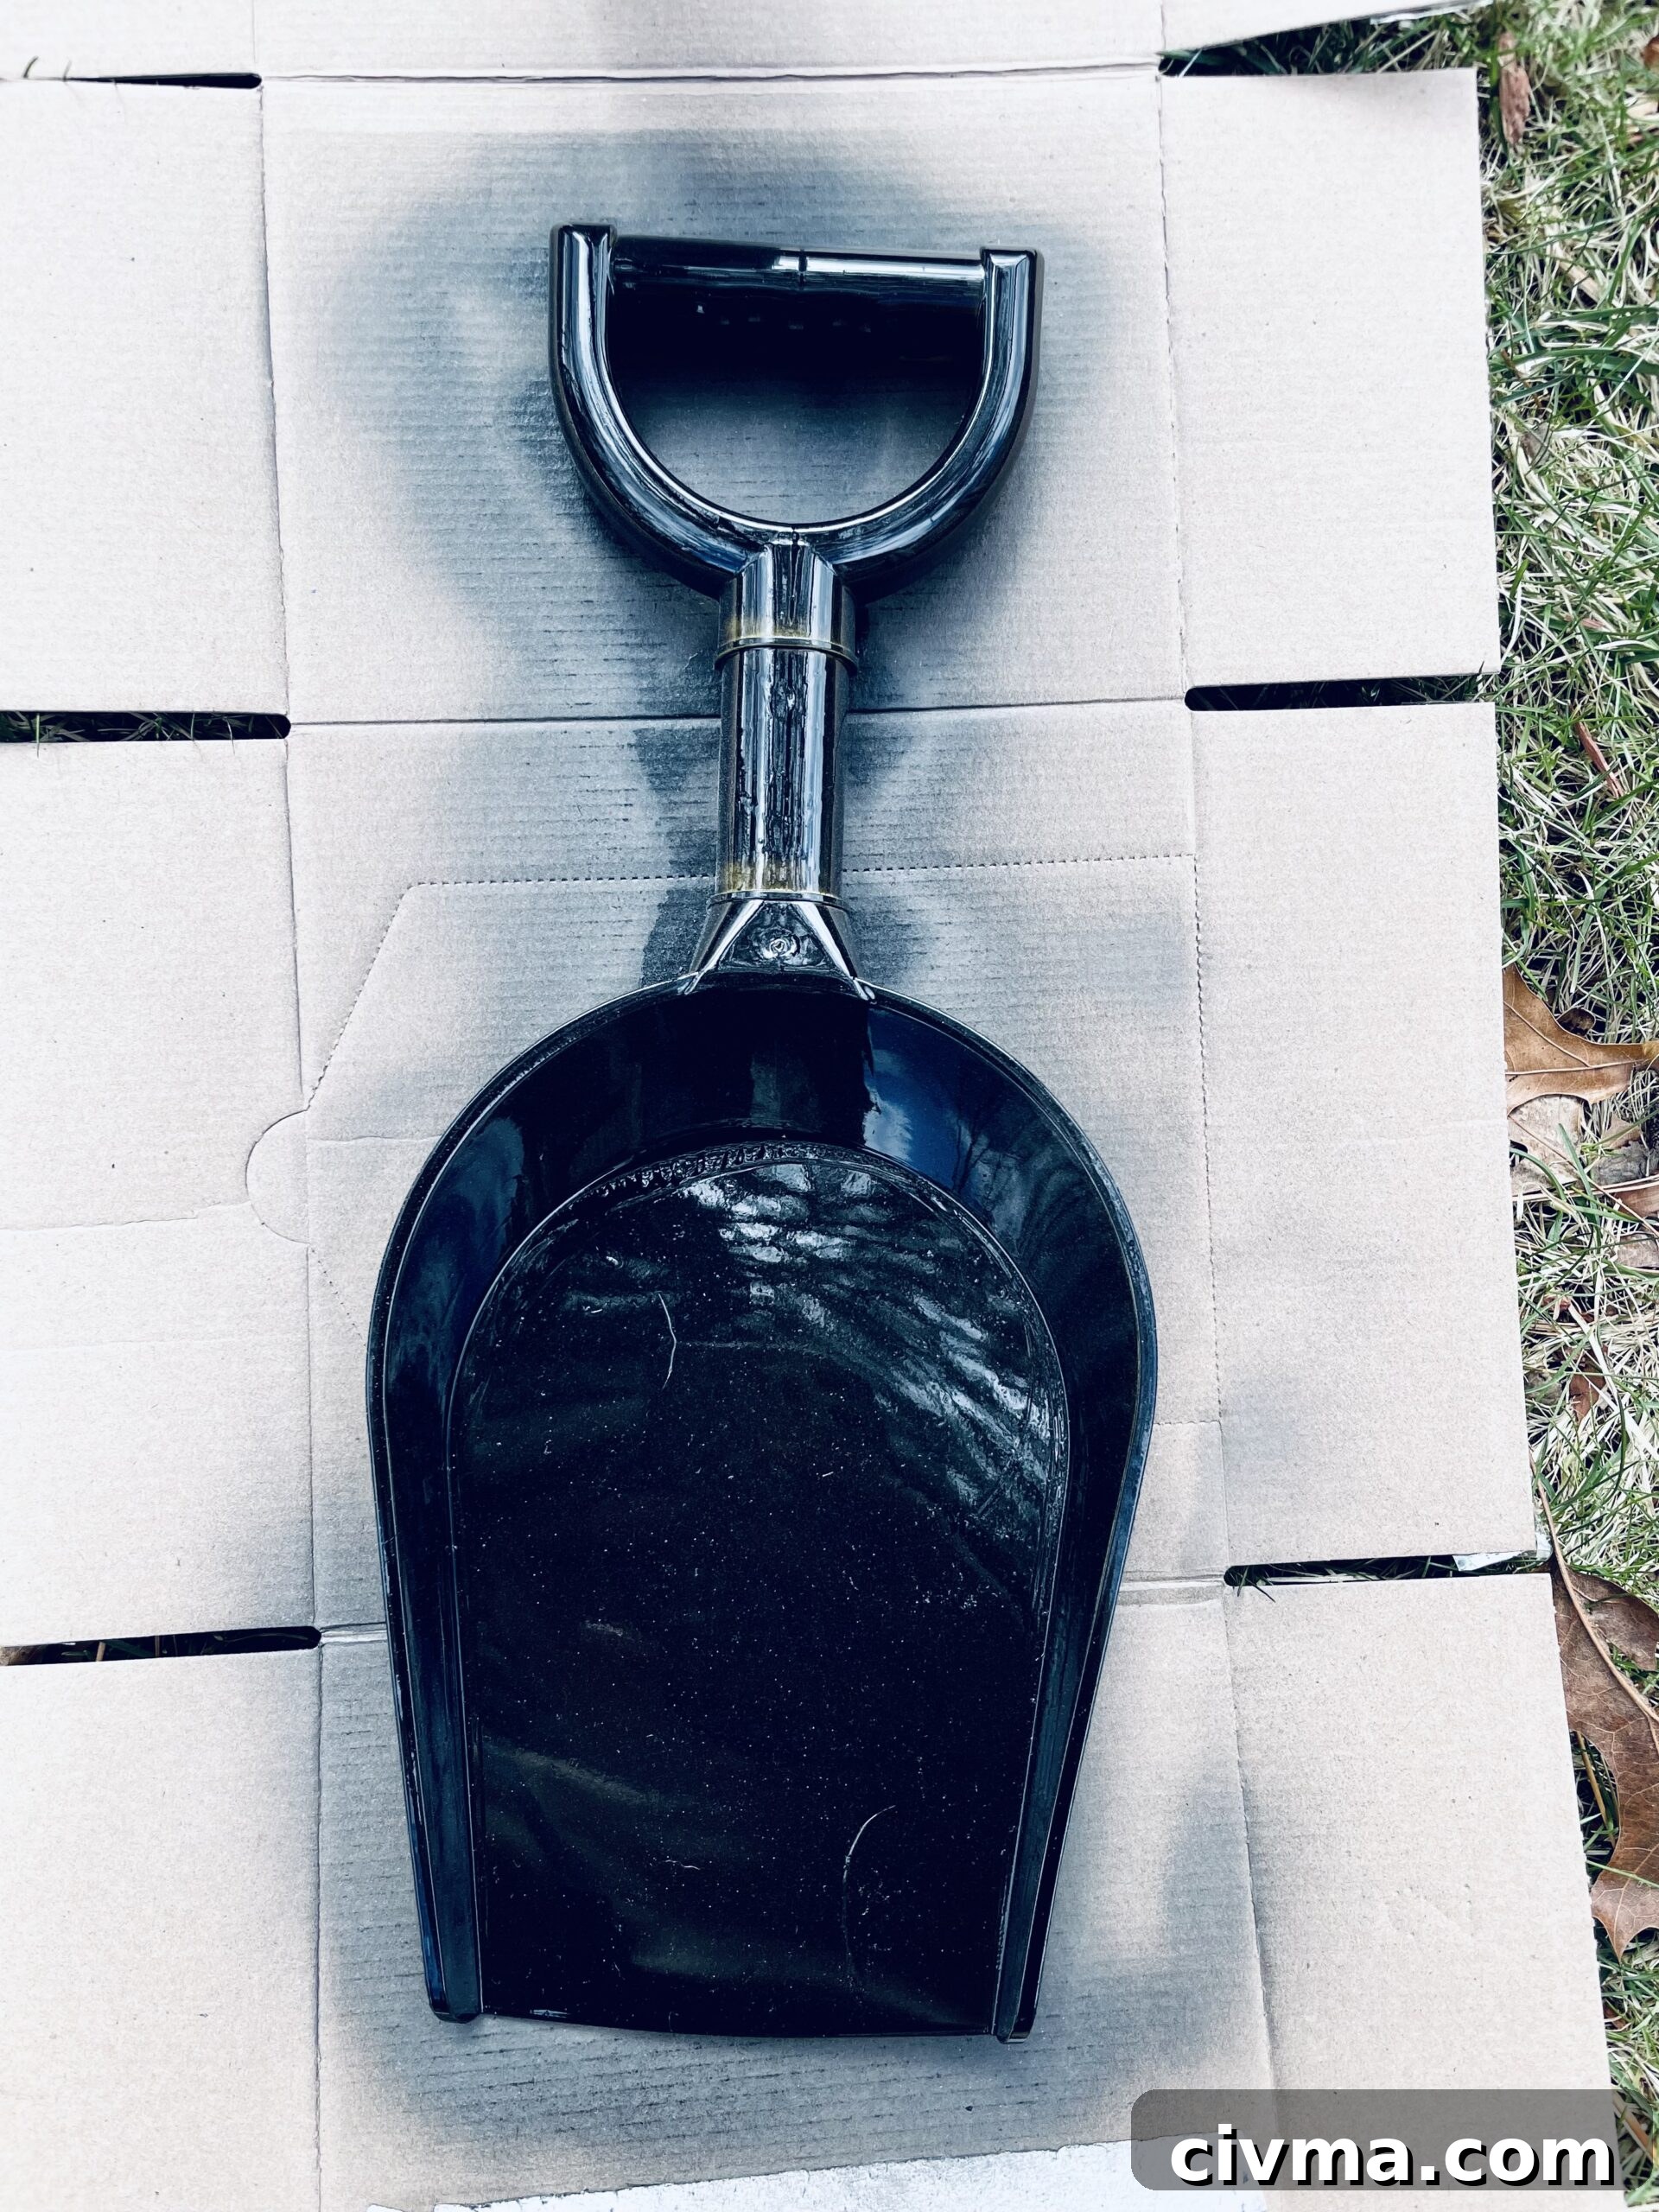
- If you want to paint the kids plastic shovel, spray paint it first. Let it dry completely before adding any decorations.
Crafting
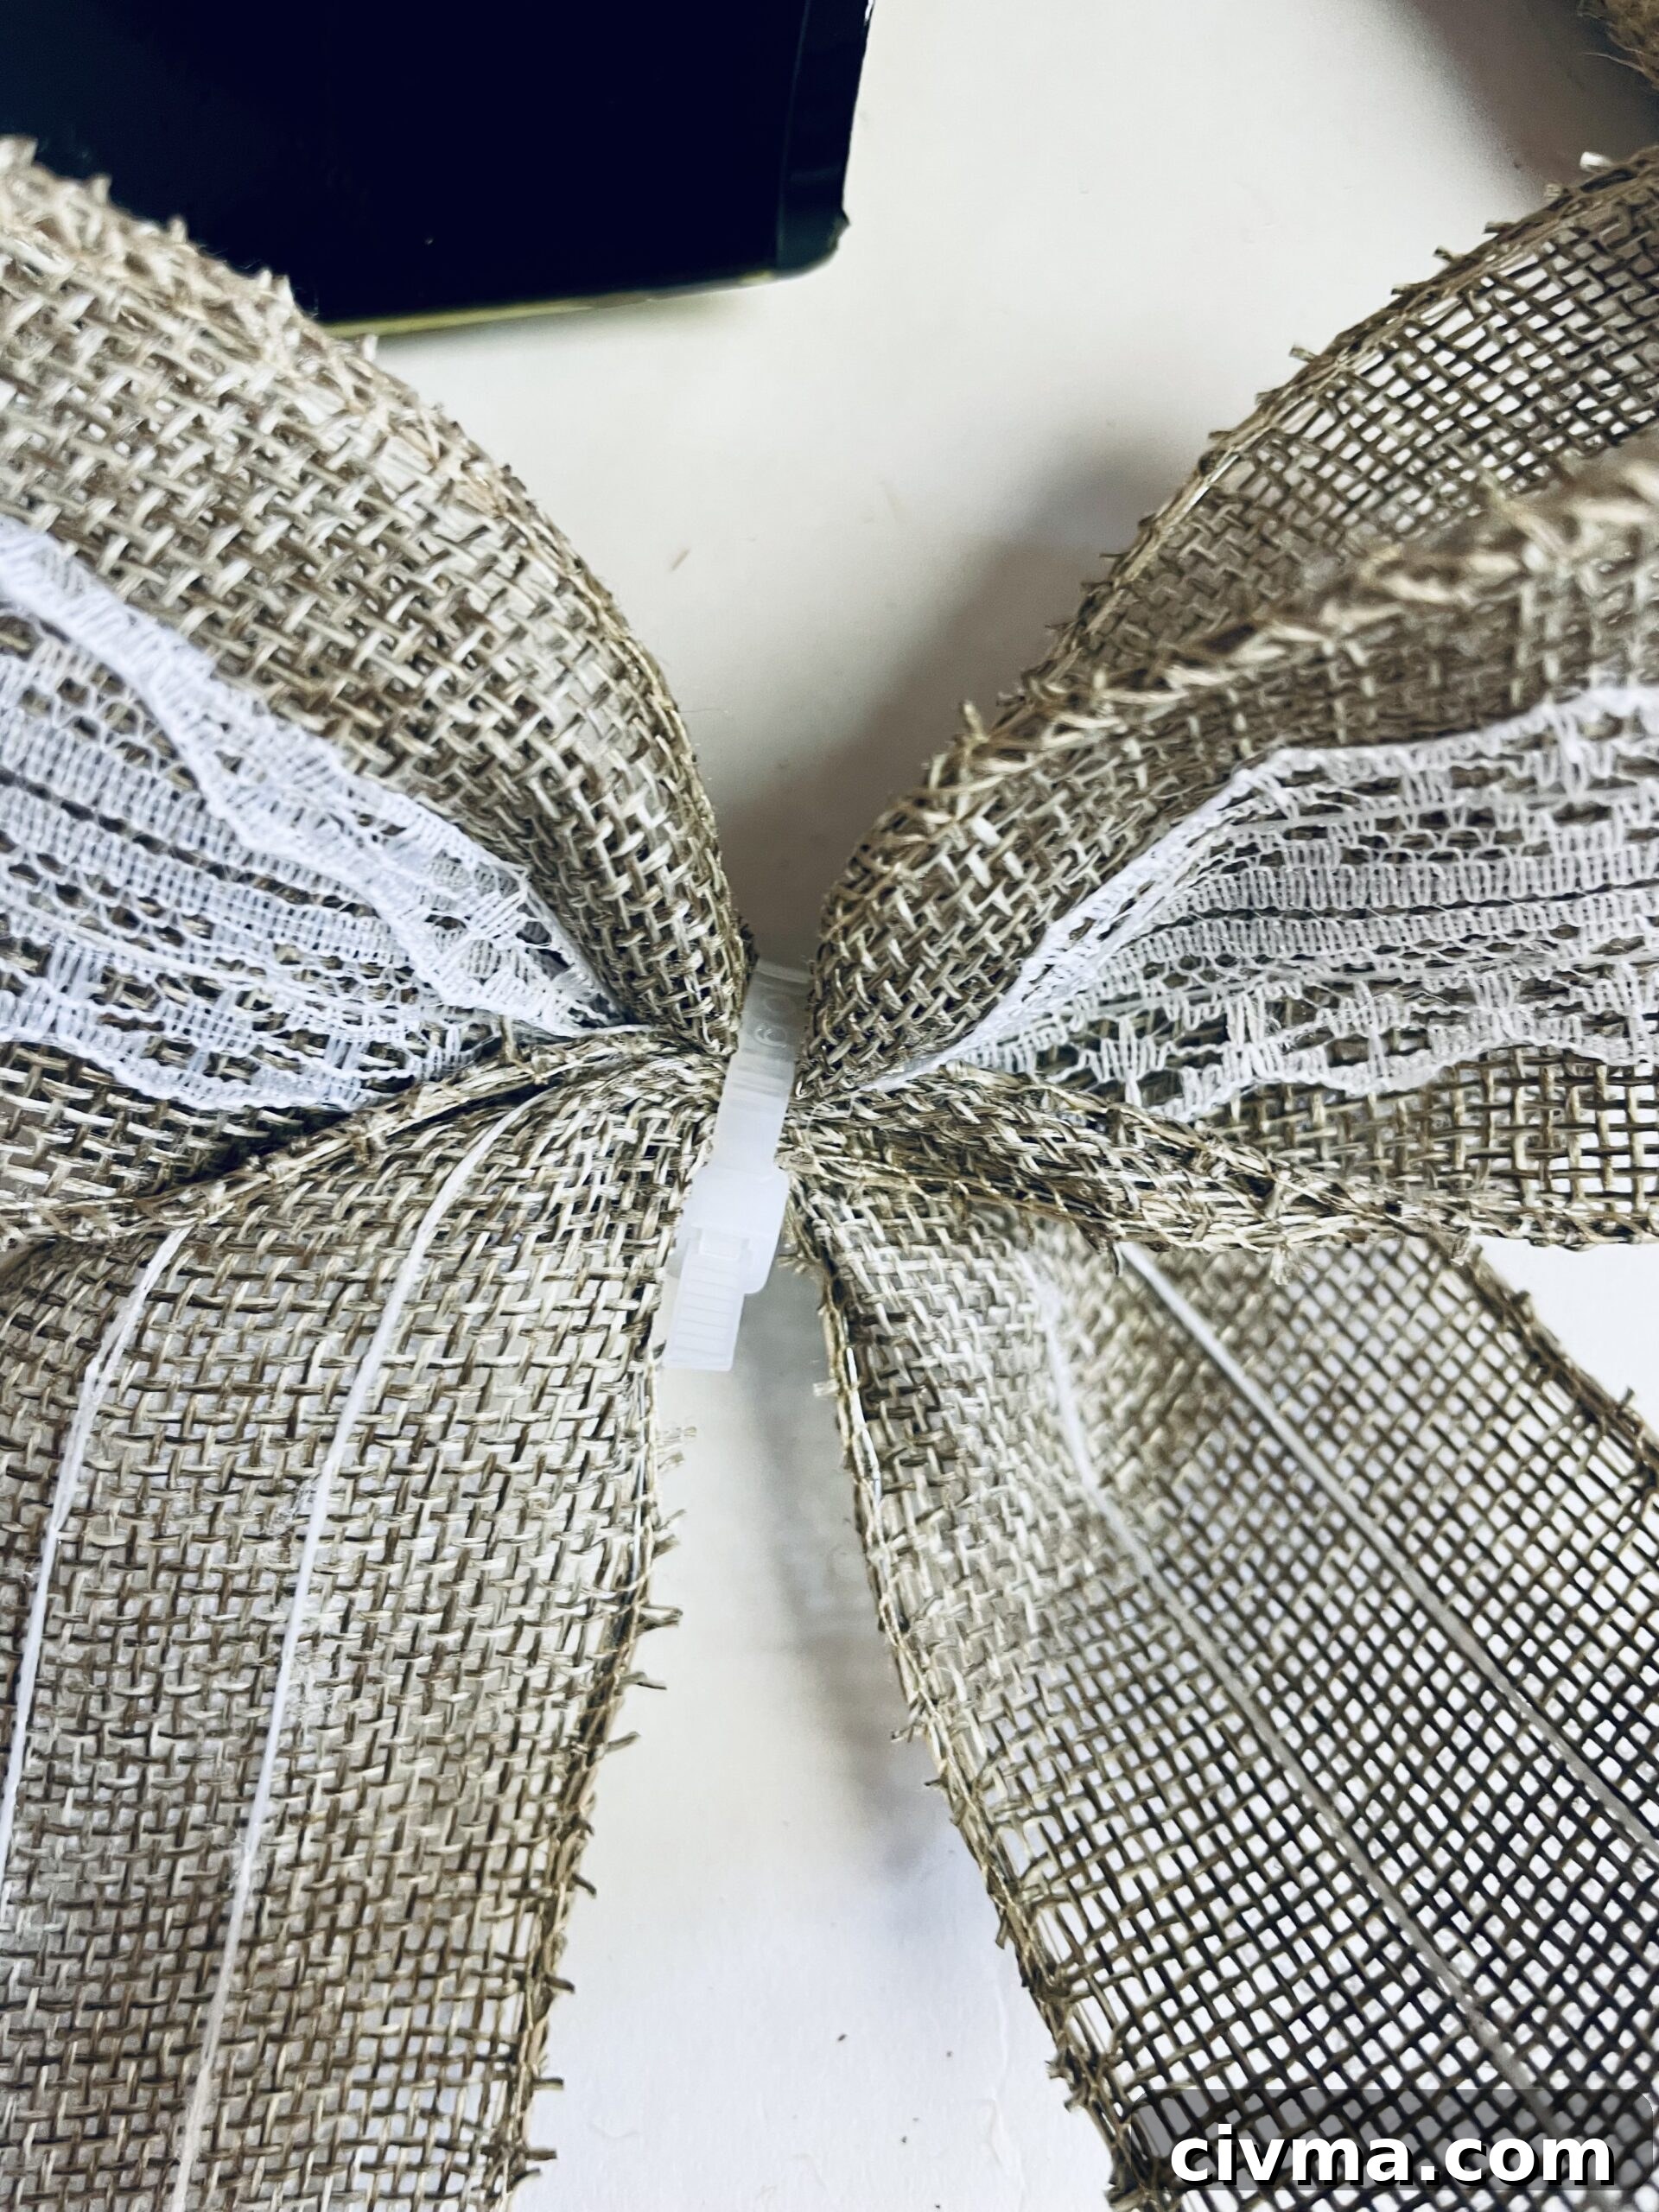
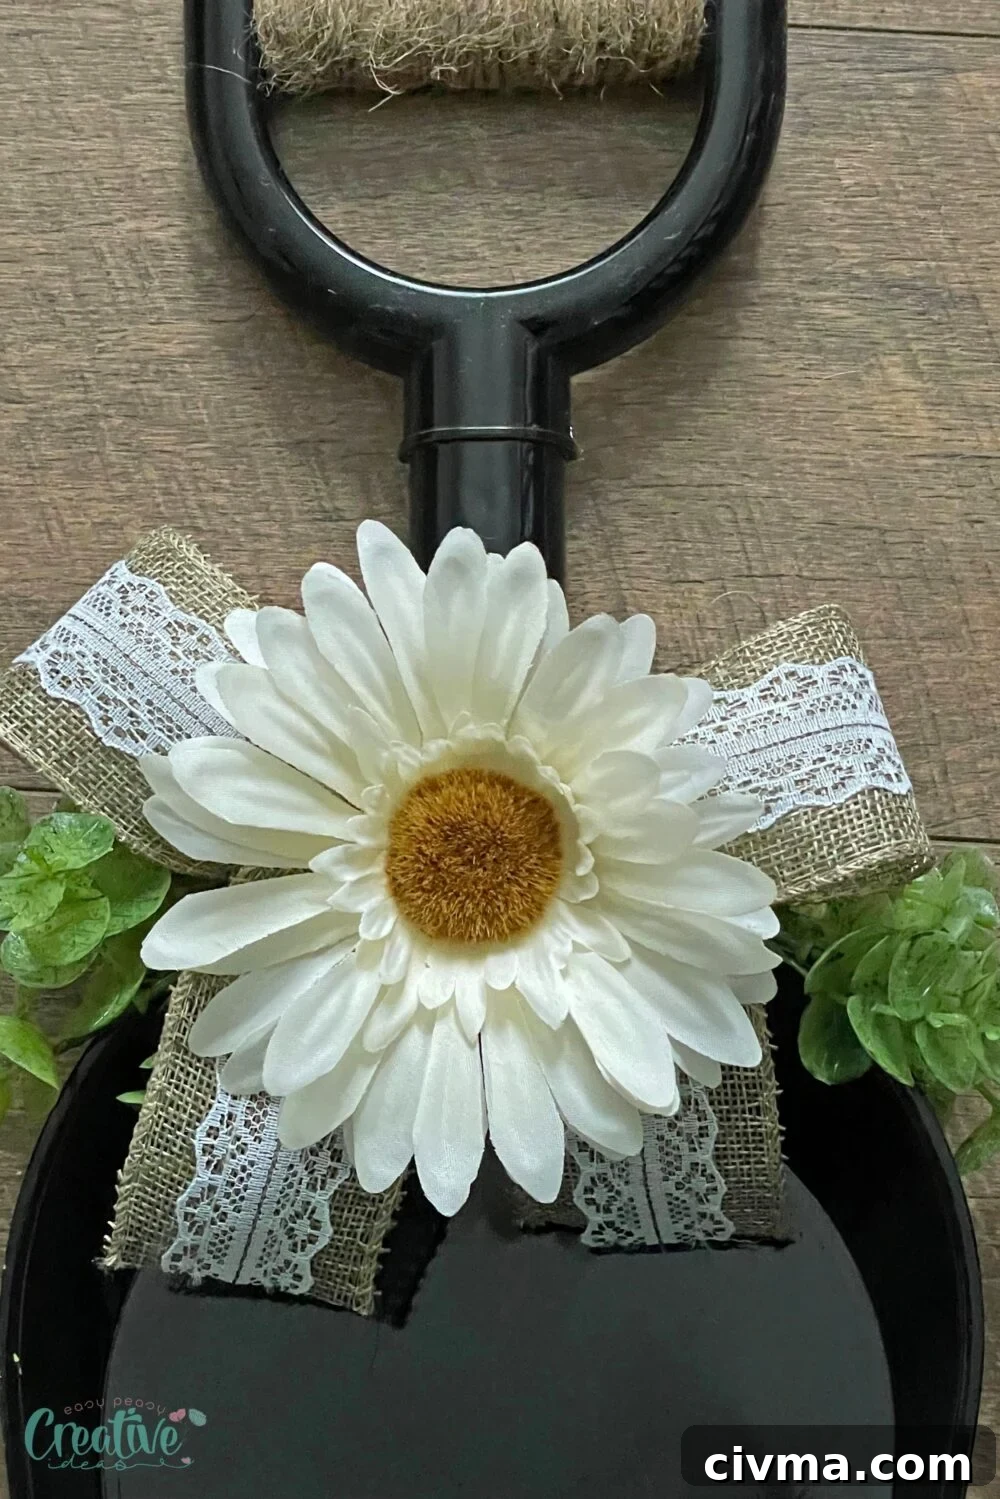
- While the painted shovel is drying, cut about 12 inches of burlap lace ribbon to make the bow. Create two loops, secure the center with a zip tie, and trim the ribbon tails to your preferred length.
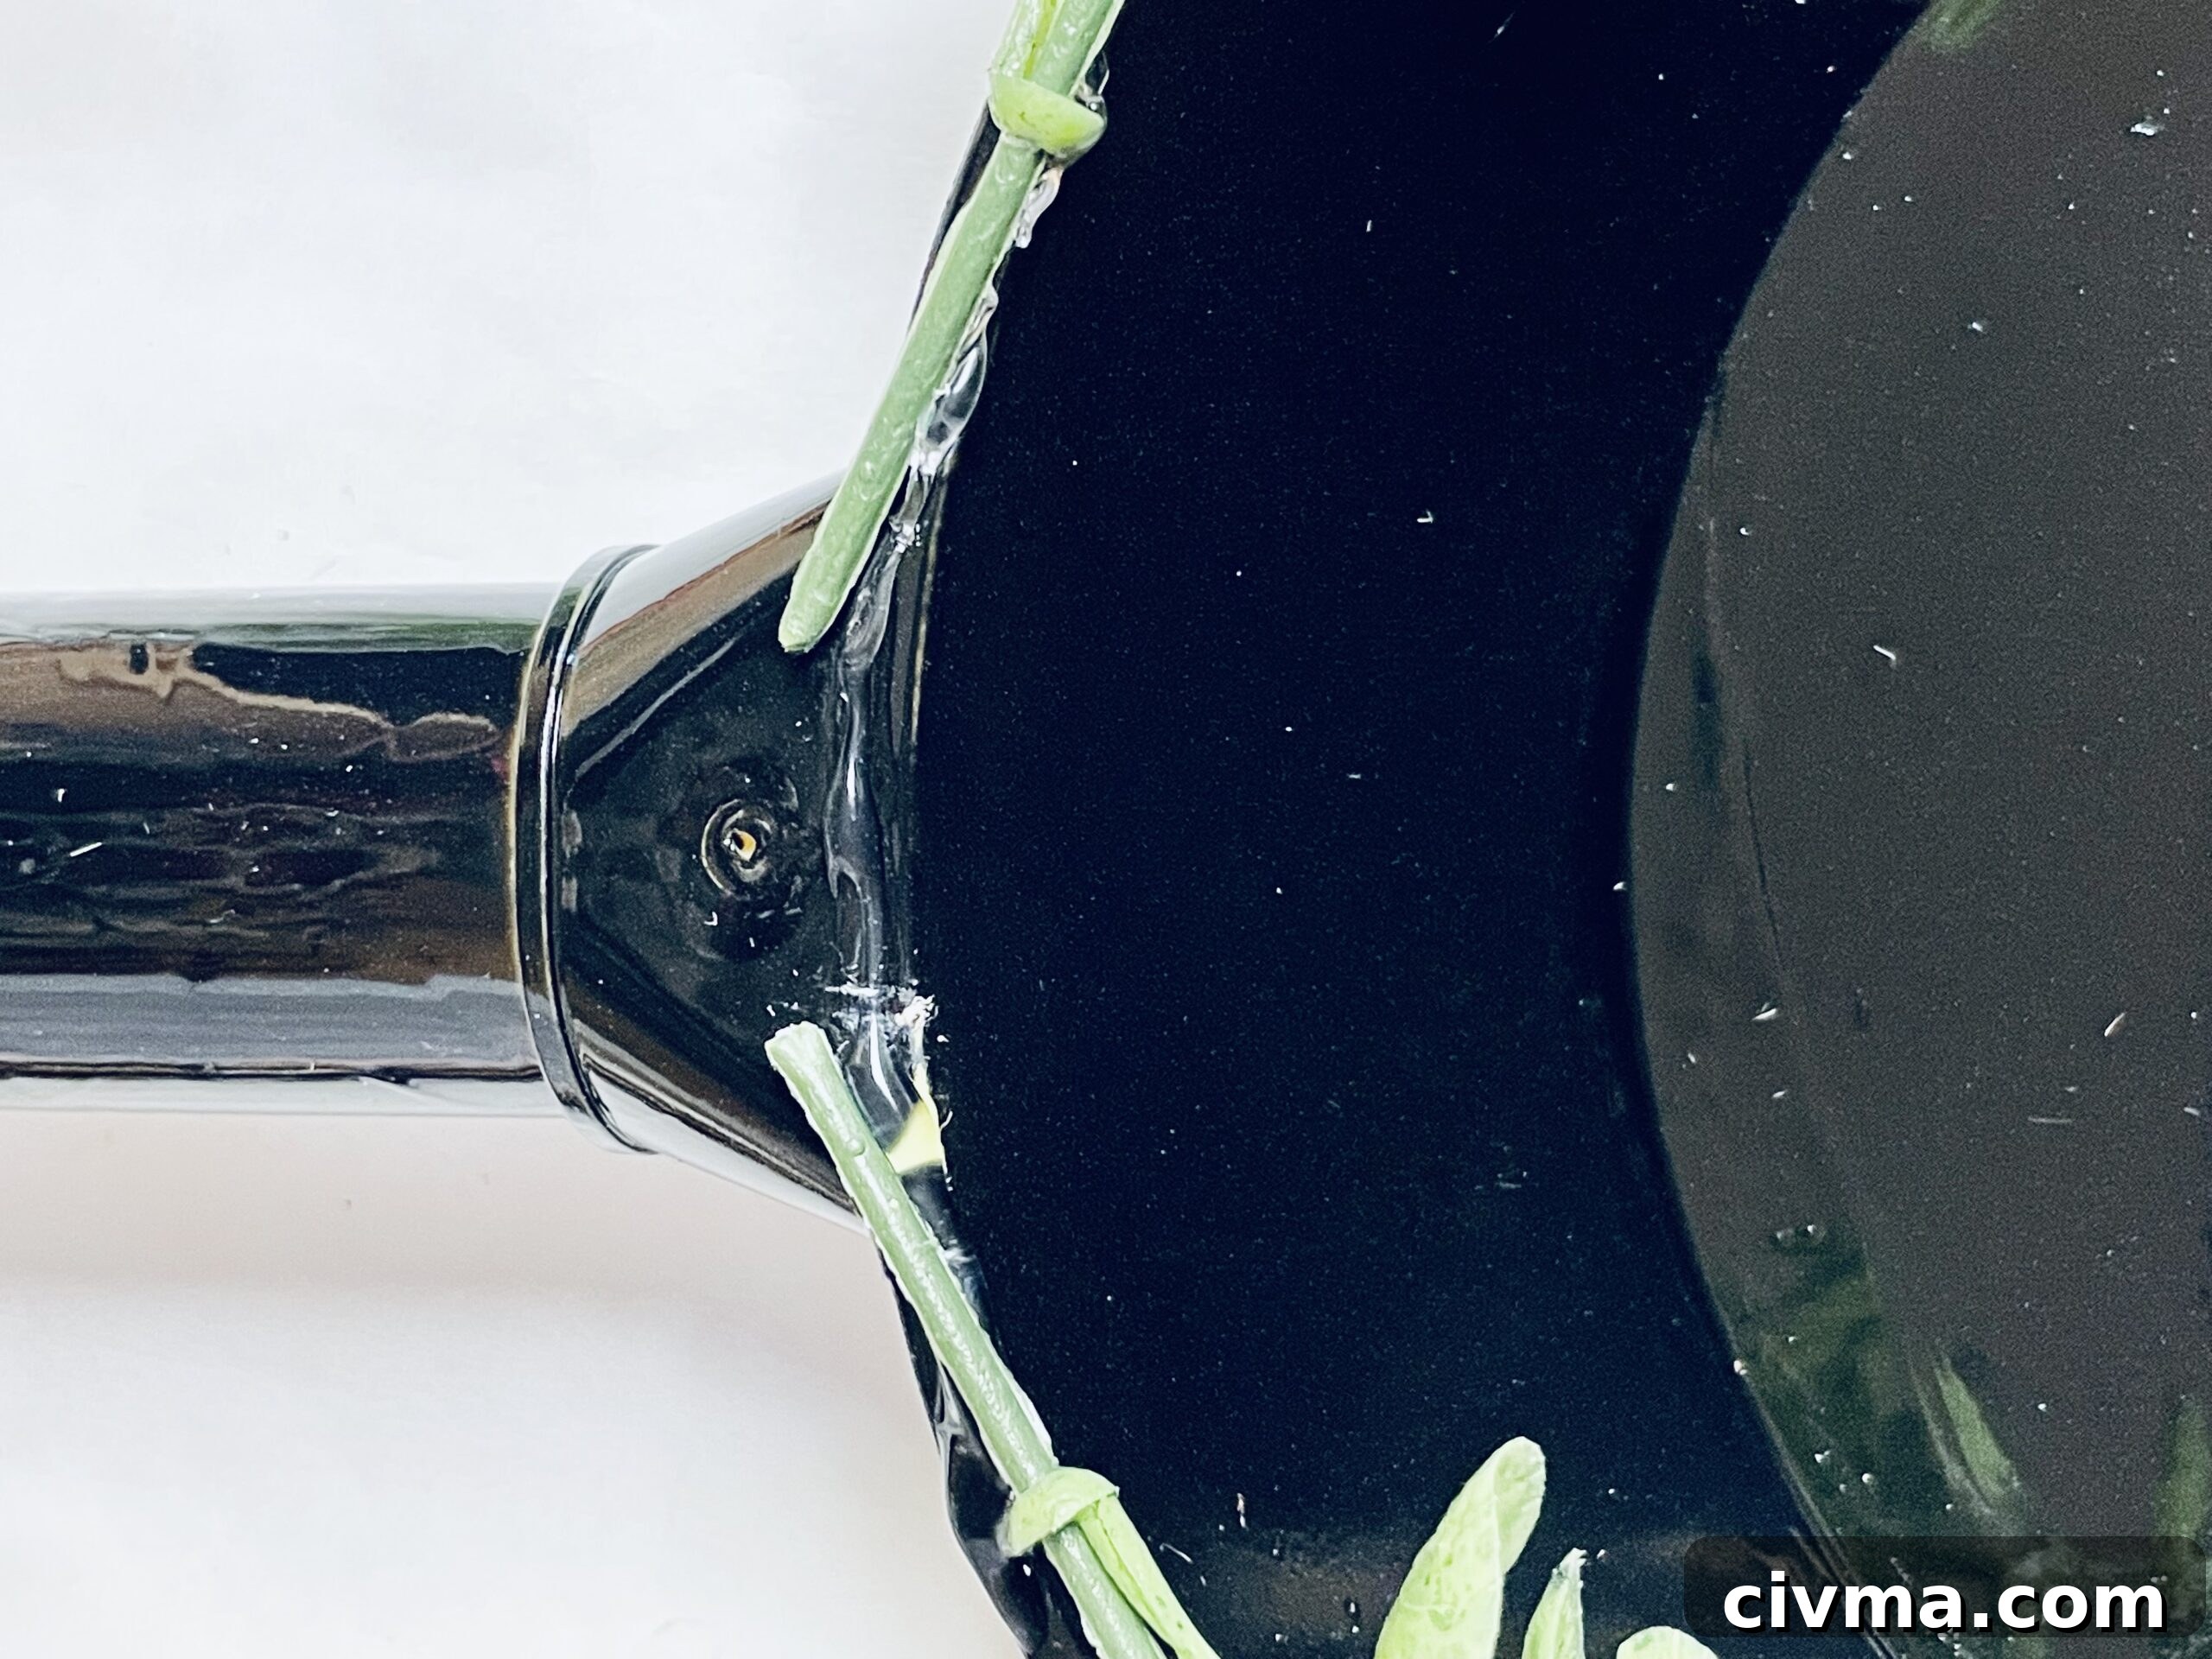
- Once the shovel is completely dry, run a line of hot glue where you want the greenery to sit. Press a few pieces of faux eucalyptus onto both sides of the shovel.
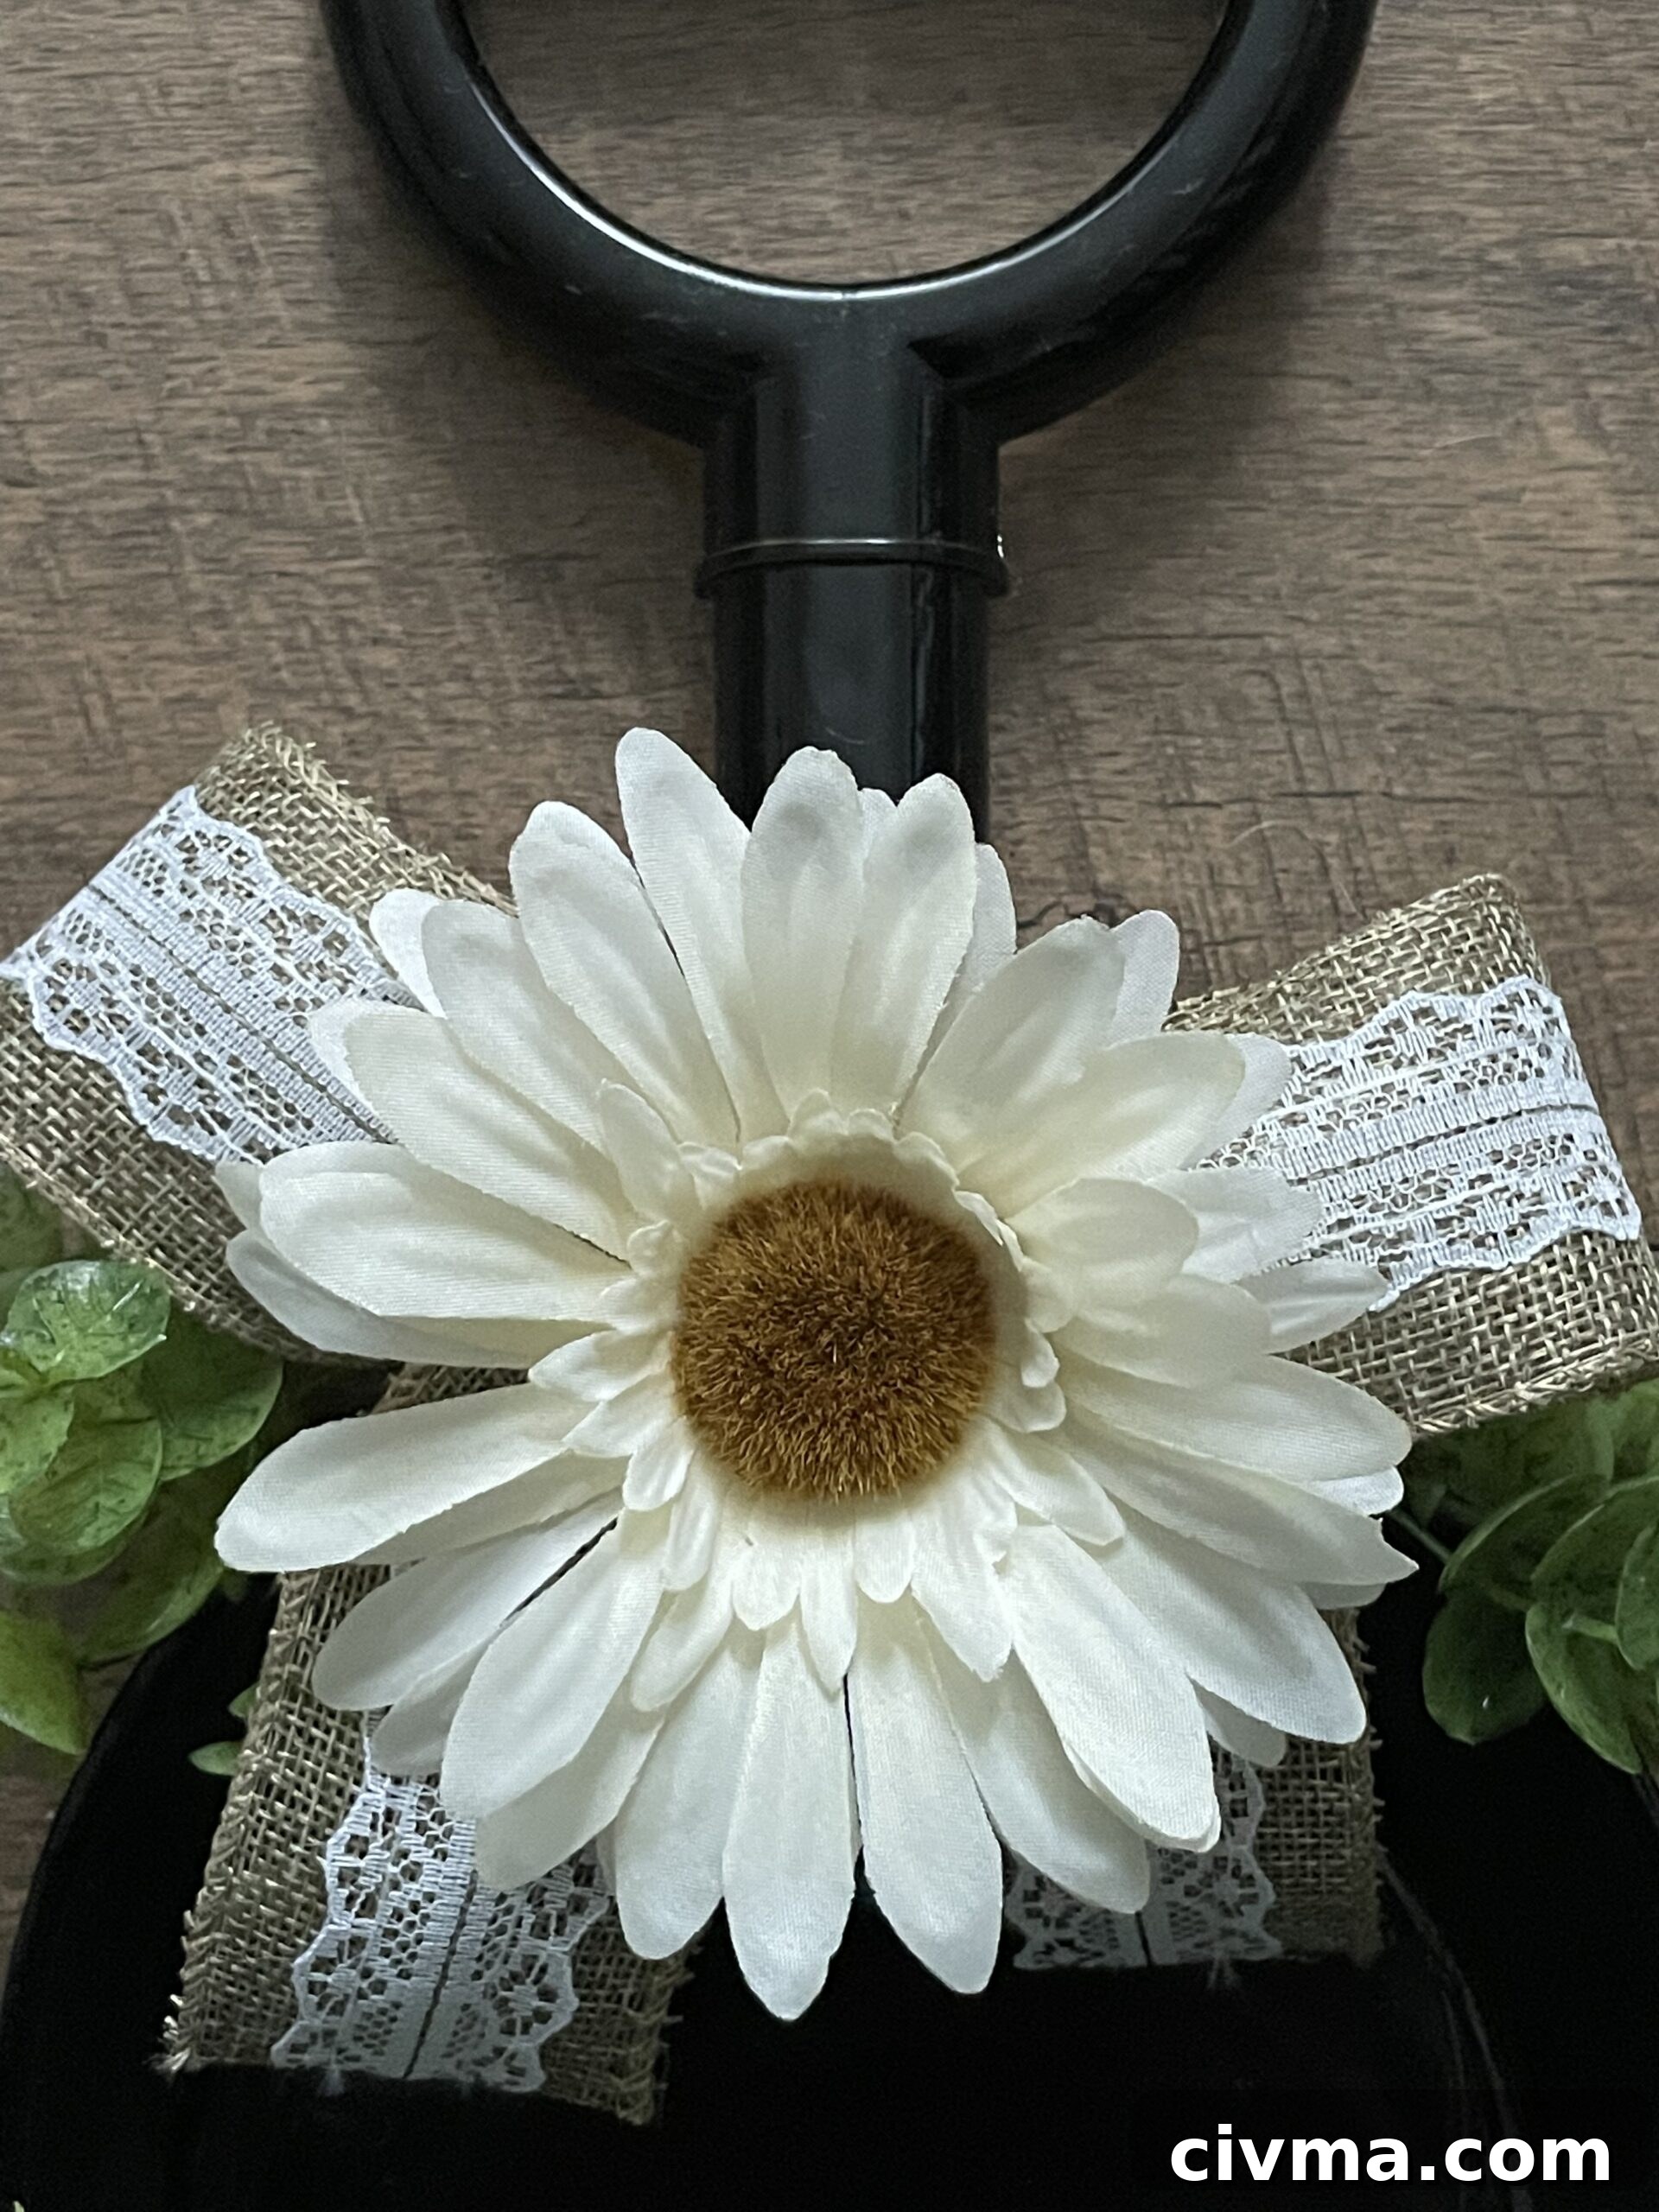
- Add a small amount of glue to the bow and attach one white gerber daisy to the front. Then apply hot glue to the back of the bow and press it firmly onto the shovel.
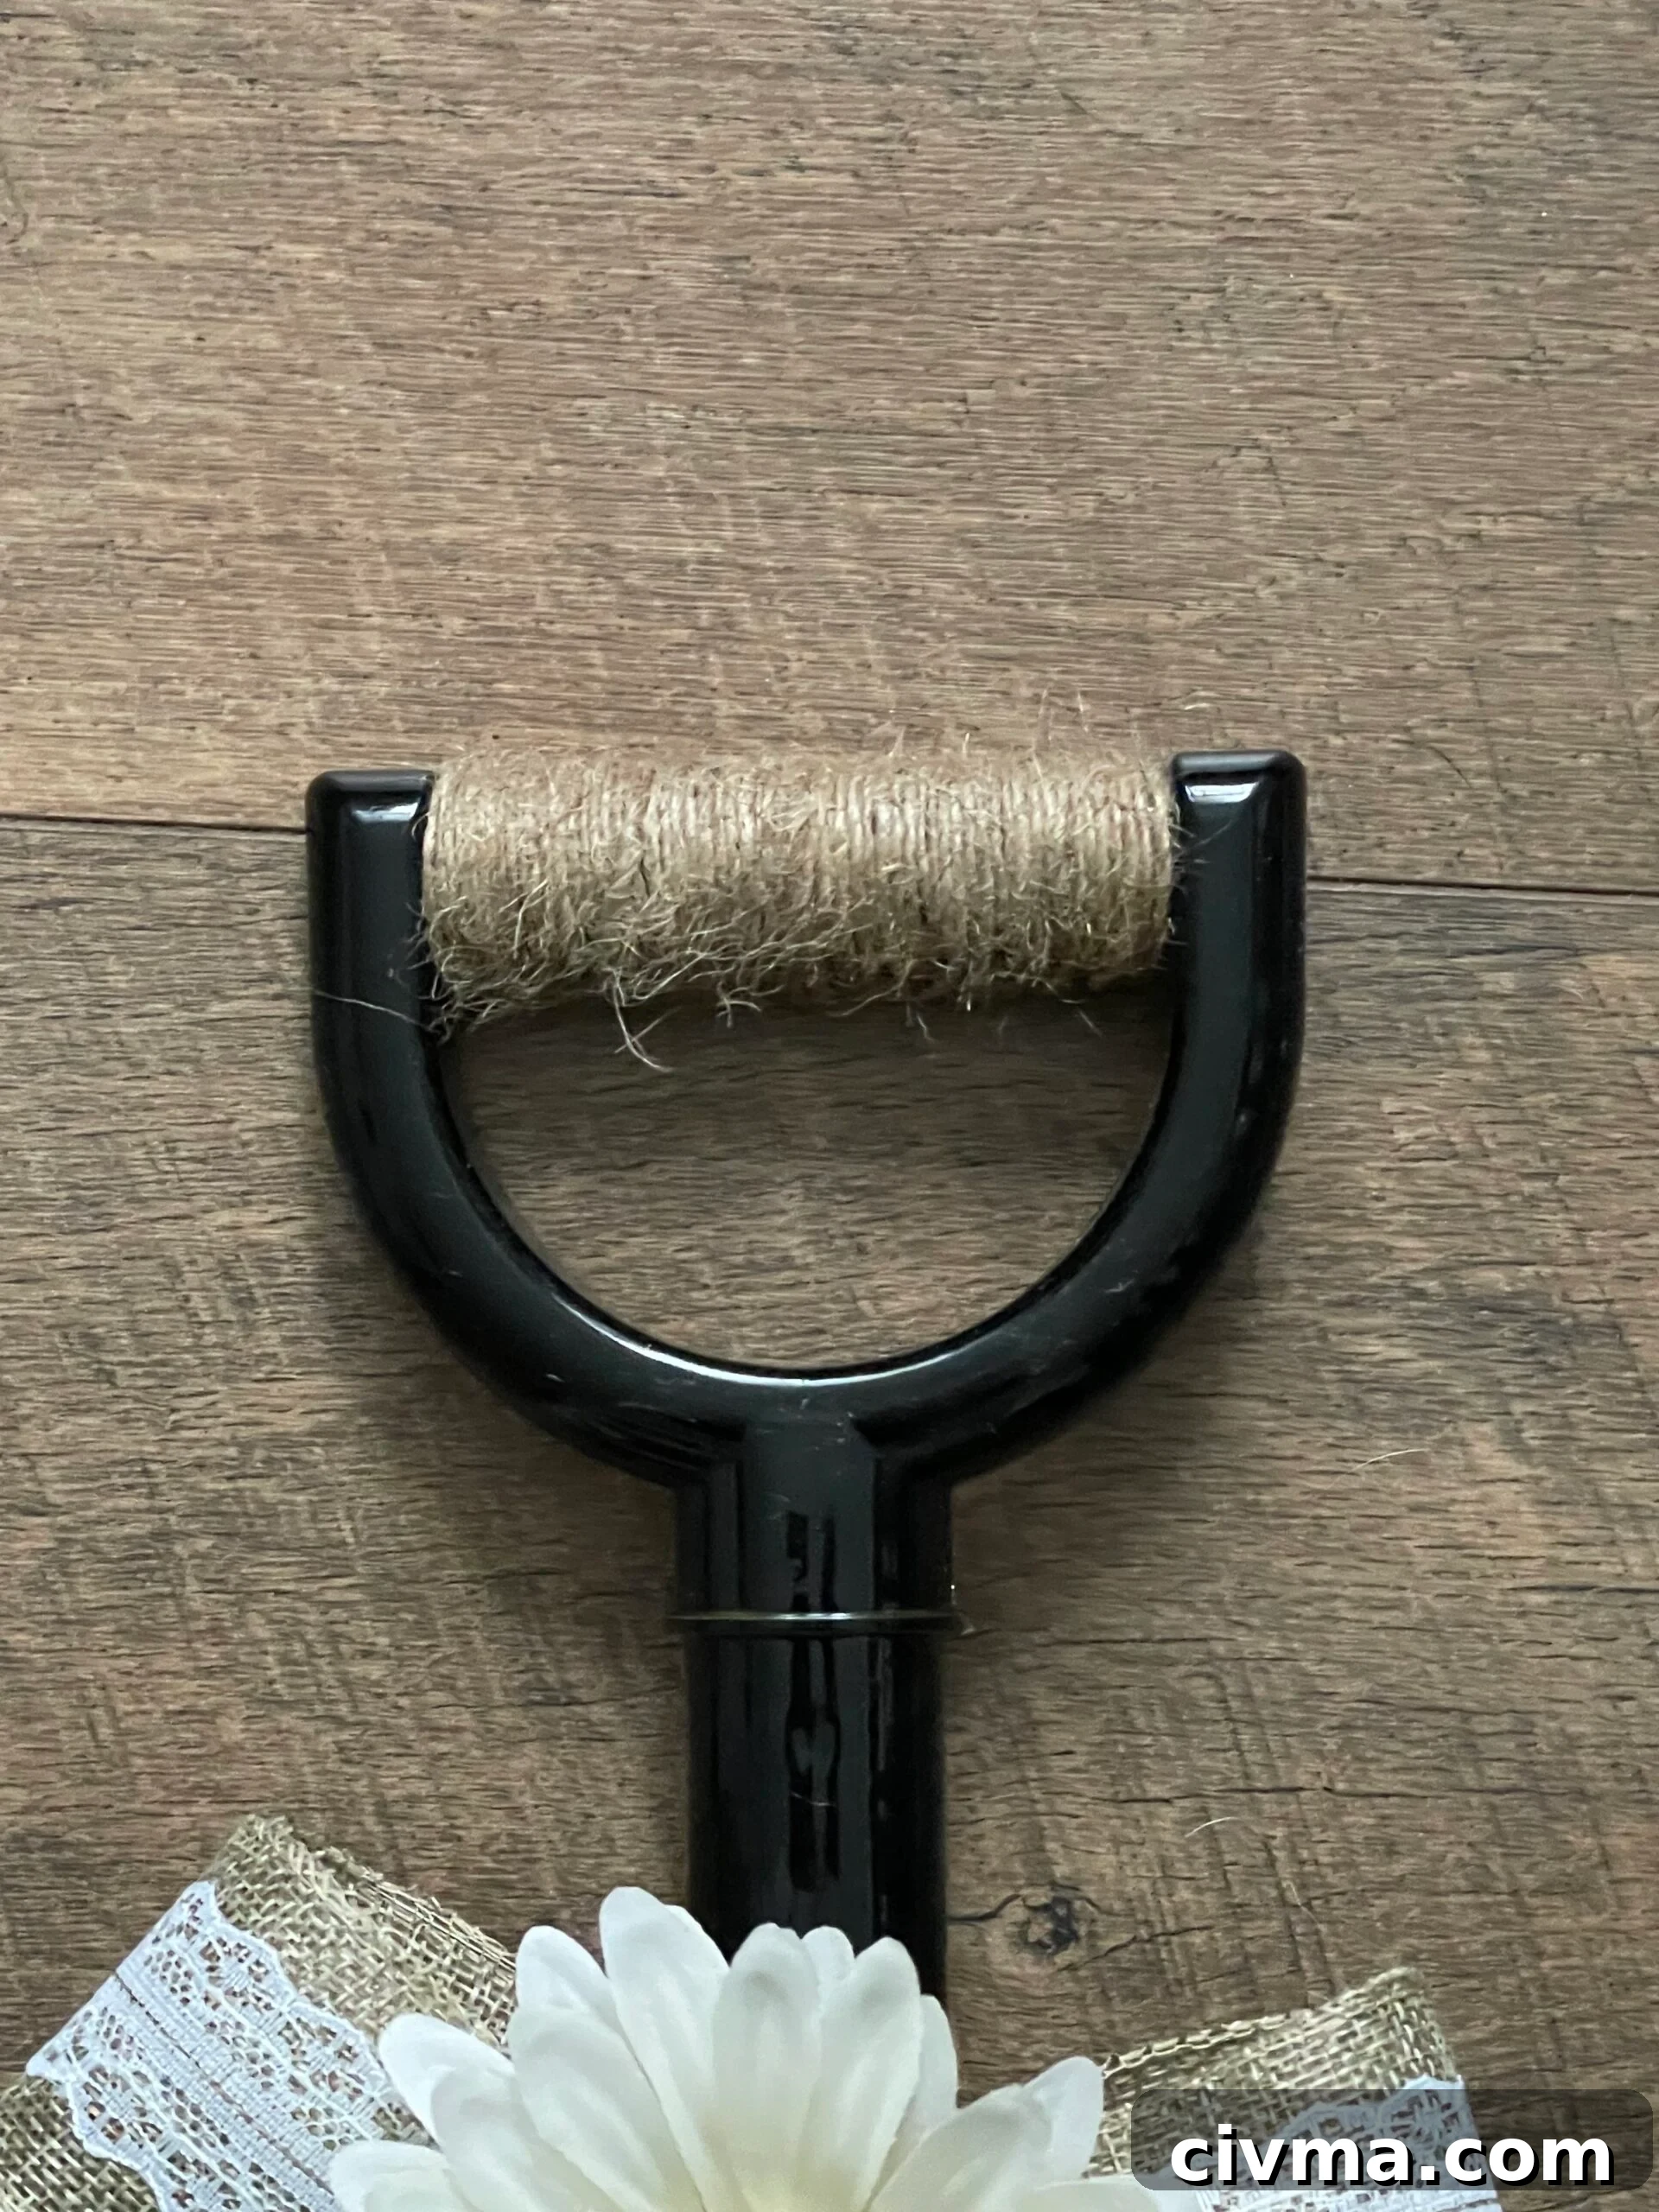
- Add a dab of hot glue to the top handle of the shovel. Wrap twine around the handle until it is fully covered, then cut the end and secure it with another small dab of hot glue.
Tips
- Use different shades and textures of faux greenery if you want the wreath to look fuller and more dimensional.
- A dual-temperature glue gun can be helpful when working with delicate faux flowers, ribbon, or lightweight decorative pieces.
- Let the spray paint dry fully before gluing anything in place. This helps prevent smudges and gives the wreath a cleaner finish.
- Before attaching the bow permanently, place it on the shovel and check the balance of the design. Adjust the greenery or flower placement as needed.
Craft Variations
- Seasonal twist: Add miniature pumpkins for autumn or faux berry clusters for a winter-inspired version.
- Color pop: Use bright flowers or a bold ribbon to coordinate the wreath with your front door or seasonal décor.
- Personalized wreath: Add an initial or family name to give the piece a custom touch.
- Minimalist look: Keep the design simple with greenery and a neutral ribbon for a clean modern farmhouse style.
Frequently Asked Questions
How do I attach the wreath to my door?
You can hang it with a wreath hanger, an adhesive hook, or a loop of twine placed over the top of the door. Choose the method that works best for your door surface and the weight of your finished wreath.
Can I use real flowers and greenery?
Real flowers and greens can look beautiful, but they will not last as long. Faux materials are more durable, easier to maintain, and better suited for a wreath you want to display for a longer period.
How do I clean my wreath?
Dust the wreath gently with a soft brush. You can also use a hairdryer on a cool setting to blow away dust from the flowers, ribbon, and greenery.
Can I reuse the wreath base?
Yes. If the pieces are attached in a way that can be removed carefully, you can take the wreath apart and reuse the shovel base for a different theme or season.
More Farmhouse Crafts You’ll Enjoy
- DIY tile vase farmhouse décor
- Farmhouse fall centerpiece
- Cotton stems farmhouse décor
- Farmhouse wooden book stack
- DIY tobacco basket wreath
- Vintage galvanized bucket
- Farmhouse cutting board decor
If you are ready to make your own farmhouse door wreath, this project is a lovely place to start. It is simple, rustic, and easy to personalize with the colors and details you love most. Follow the steps as written or use them as inspiration for your own farmhouse wreath design. Either way, the finished piece will add a warm handmade welcome to your front entrance.

Farmhouse Door Wreath DIY
Materials
- kids plastic shovel
- faux eucalyptus
- burlap ribbon
- white gerber daisy bunch
Tools
-
hot glue gun
-
hot glue sticks
-
black spray paint
-
twine
-
scissors
-
zip tie
Instructions
-
Lay out all materials and equipment on a clean, flat surface. Paint the kids plastic shovel first if desired, then allow it to dry completely.

-
Cut about 12 inches of burlap lace ribbon and form a bow with two loops. Secure the center with a zip tie and trim the ends to the length you like.
-
When the shovel is dry, apply a line of hot glue and attach a few pieces of faux eucalyptus to both sides.
-
Glue one white gerber daisy to the bow. Add hot glue to the back of the bow and press it firmly onto the shovel.
-
Add hot glue to the top handle of the shovel and wrap twine around the entire handle. Cut the end and secure it with another dab of hot glue.