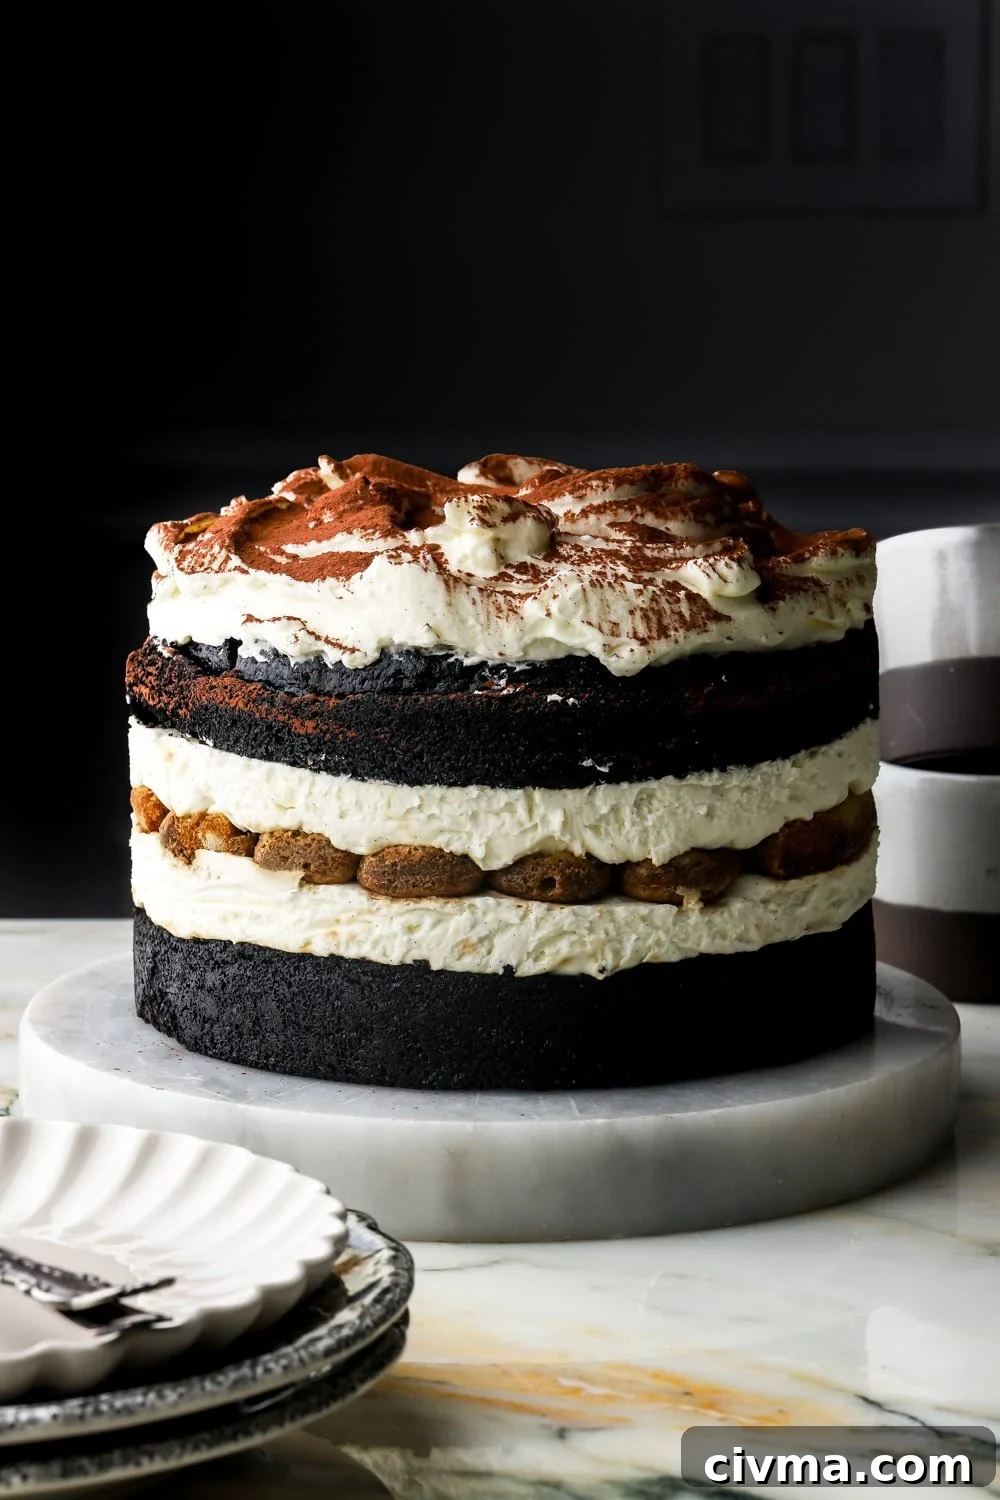
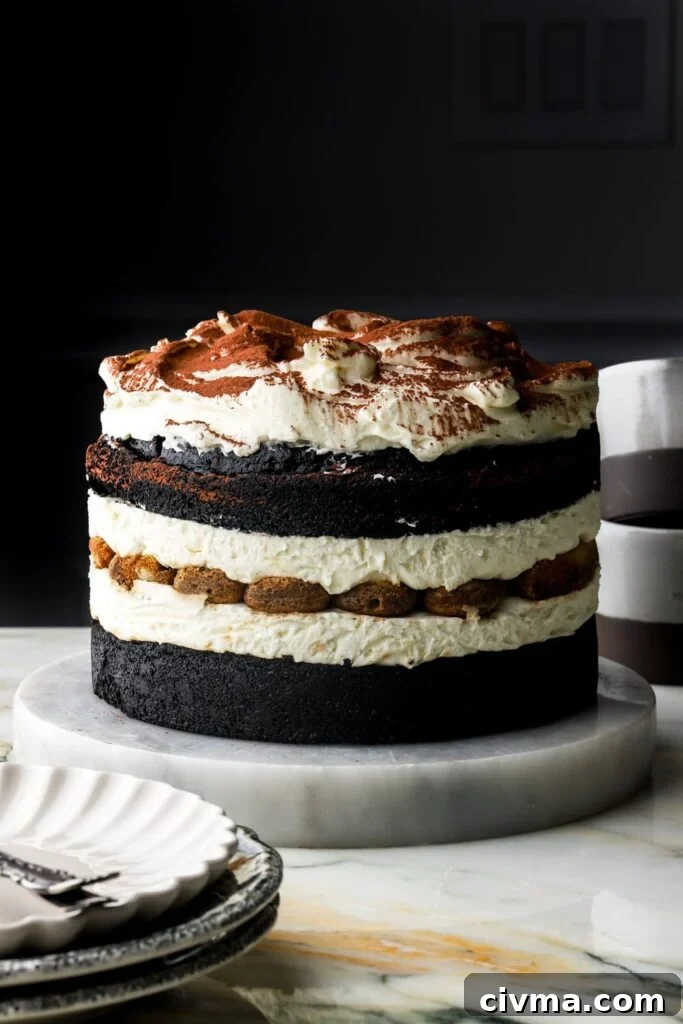
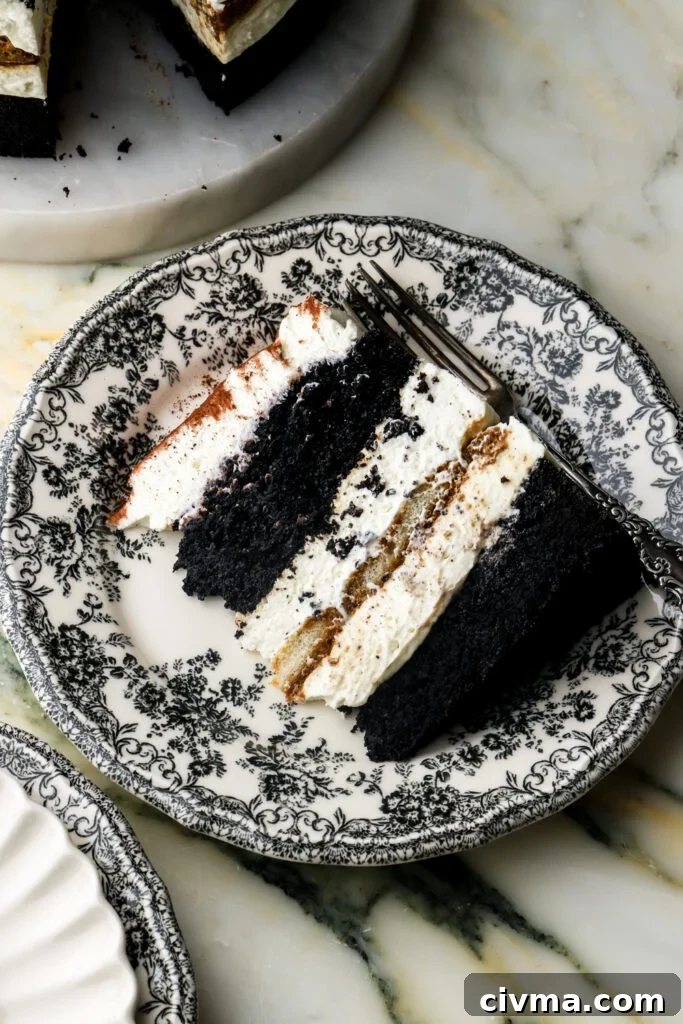
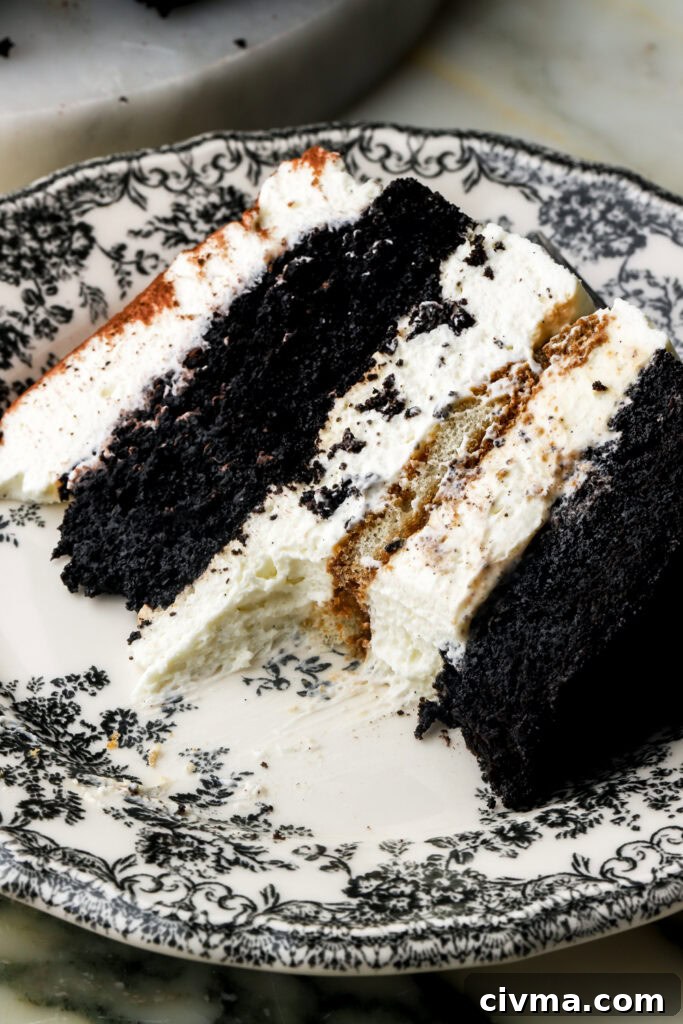
Because so many of you loved my original tiramisu cake, I made a chocolate version that combines two favorite desserts: a rich chocolate cake and classic tiramisu. I built a tiramisu layer between two layers of my beloved Black Cocoa Cake, leaving the finished cake “naked” so the beautiful layers remain visible.
Instead of the loosely textured traditional tiramisu cream, I use a stabilized mascarpone cream for layer cakes. It’s light and fluffy but firm enough to support the cake and keep the layers intact.
If you love tiramisu flavors, this chocolate tiramisu cake is an excellent twist: dark chocolate cake, espresso-soaked ladyfingers, and cloud-like mascarpone cream come together for a dramatic, delicious result.
Step-by-Step Photo Instructions
I love cakes with multiple components because they bring more contrast in flavor and texture. This cake has three main elements:
- The Chocolate Cake – a black cocoa-based chocolate cake that gives an ultra-dark, cookie-like chocolate note.
- Espresso-Soaked Ladyfingers – quick-dipped ladyfingers add authentic tiramisu character; use strong brewed espresso or a strong coffee alternative.
- Mascarpone Cream – a slightly stabilized mascarpone whipped with cream that holds up well in layer cakes.
Chocolate Cake
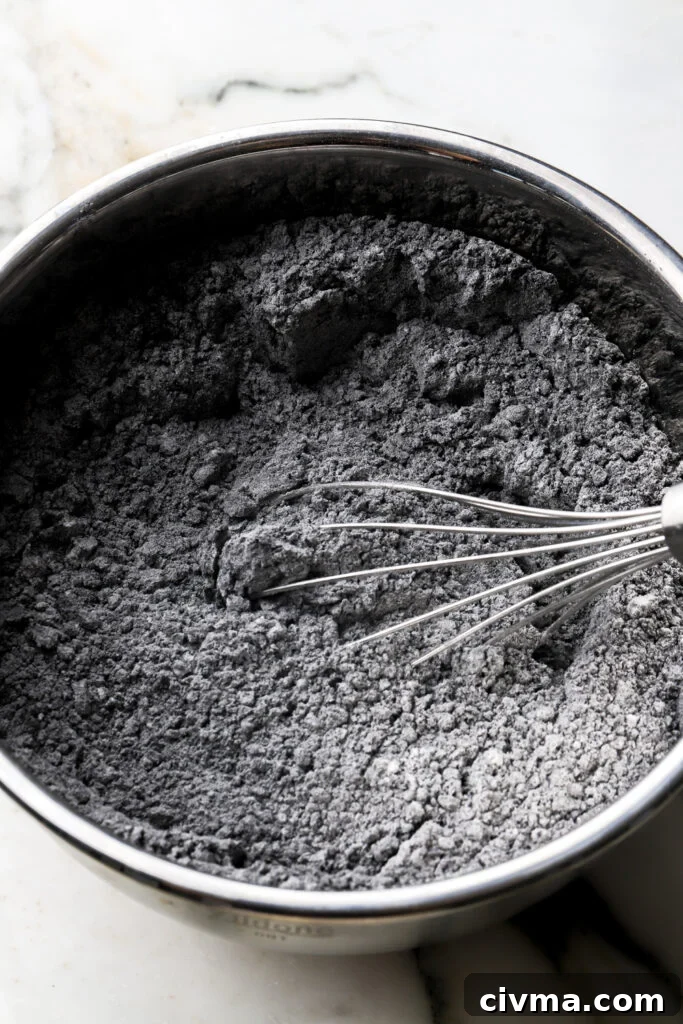
Black cocoa powder tastes like chocolate with a deep, charcoal-like color and a slightly bitter, cocoa-forward profile similar to the flavor you get in dark sandwich cookies. It adds dramatic color and an intense chocolate note.
For consistent results, weigh dry ingredients with a digital scale rather than scooping, which can lead to over-measuring.
- Whisk together cake flour, black cocoa powder, baking powder, and salt until evenly distributed.
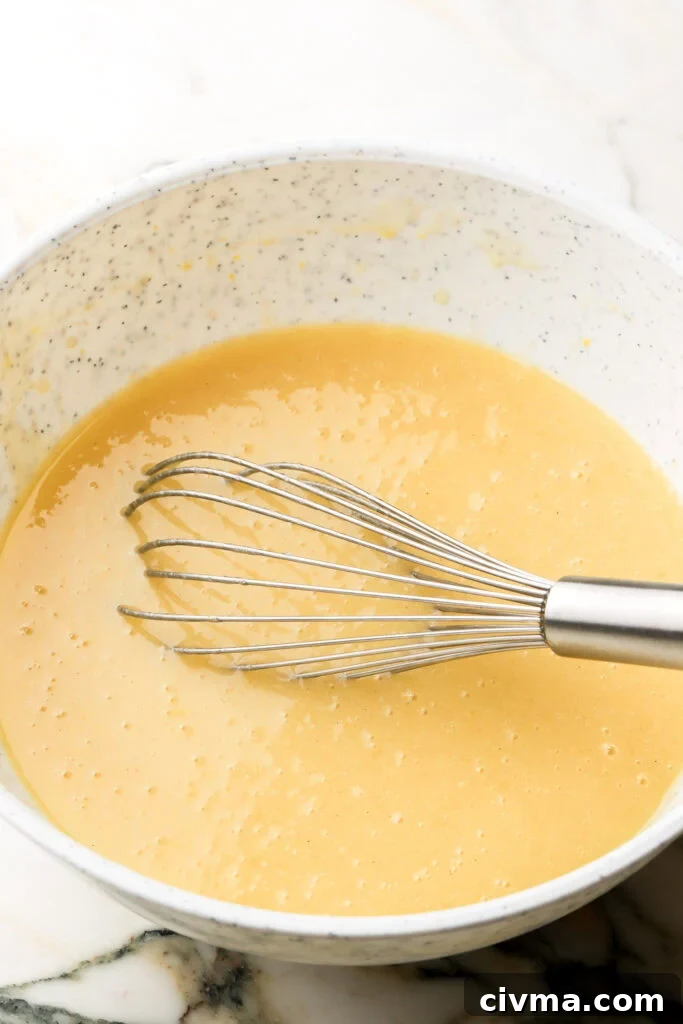
- In a separate bowl, whisk oil, sugar, eggs, and sour cream until smooth and combined.
- Sift the dry ingredients over the wet mixture and whisk until about halfway combined.
- Pour in hot coffee and whisk until the batter is completely smooth.
- Scrape the bowl, pour the batter into the prepared pan, and bake until the center springs back when pressed.
- Cool in the pan 10 minutes, invert onto a towel and cool inverted for about 30 minutes, then flip right side up.
- Slice the cooled cake horizontally into two layers. If one end formed a large dome, trim lightly if desired.
Mascarpone Cream
Choose a mascarpone that is smooth and thick. Some brands can be watery or grainy; BelGioioso (when available) is a reliable, thick option. If your mascarpone shows liquid at the bottom, drain it before using so the cream doesn’t become loose.
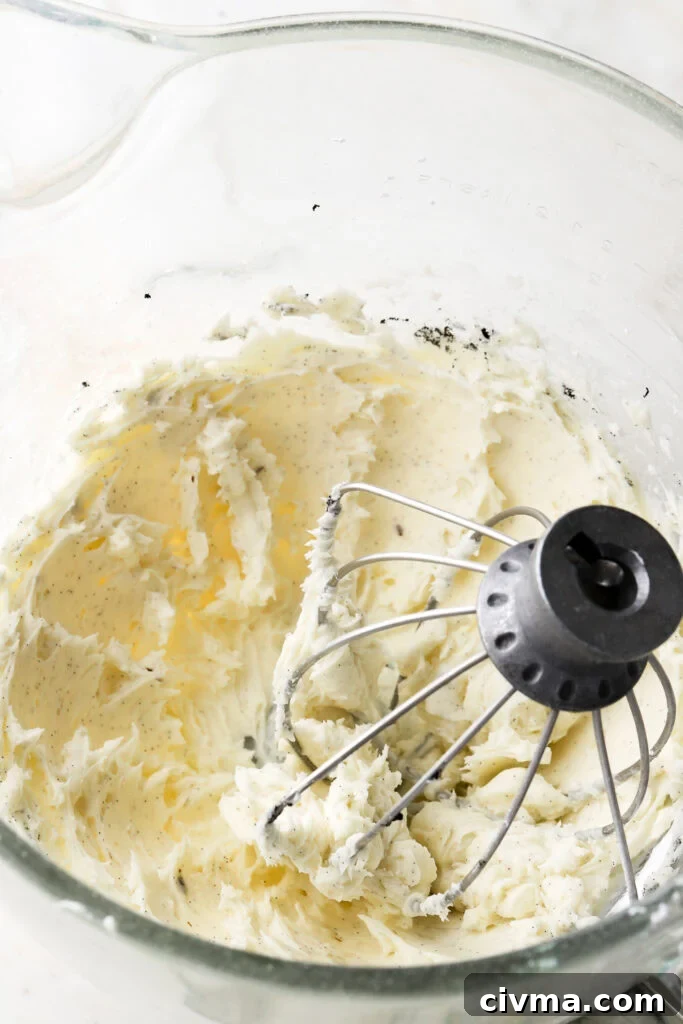
- Beat cold mascarpone with powdered sugar and a pinch of salt on low, then increase speed until smooth.
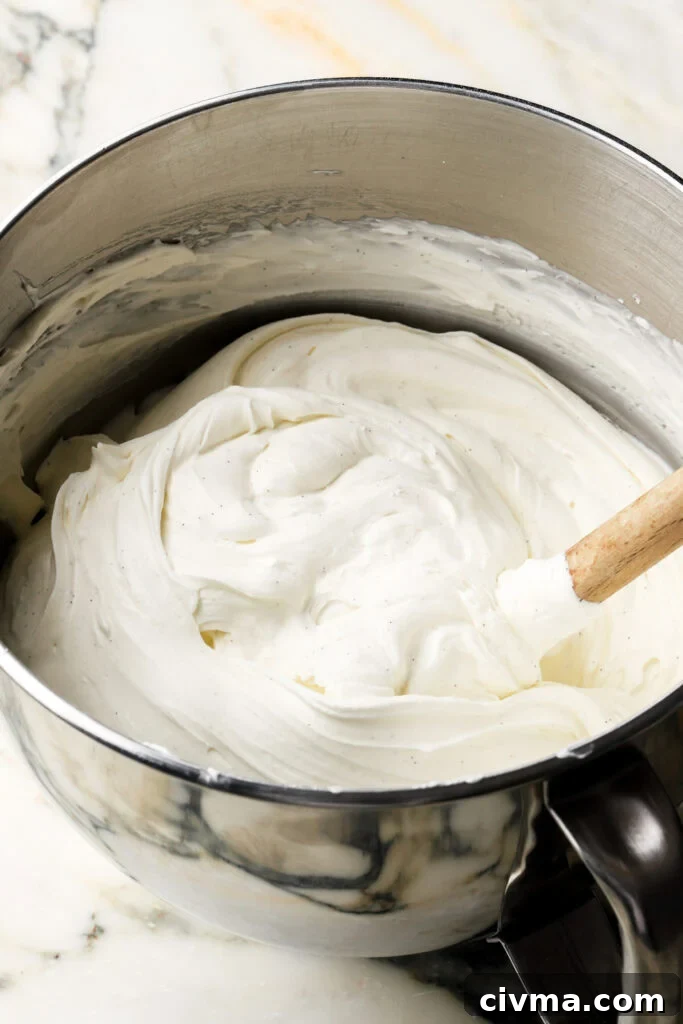
- Add vanilla bean paste and stream in cold heavy cream in 3–4 additions, scraping the bowl between additions.
- Once all cream is incorporated, increase the mixer to high for 1–2 minutes until the mixture holds soft peaks. Avoid over-beating.
Assemble
- Brew espresso ahead of time, sweeten with granulated sugar, and chill until room temperature or cold.
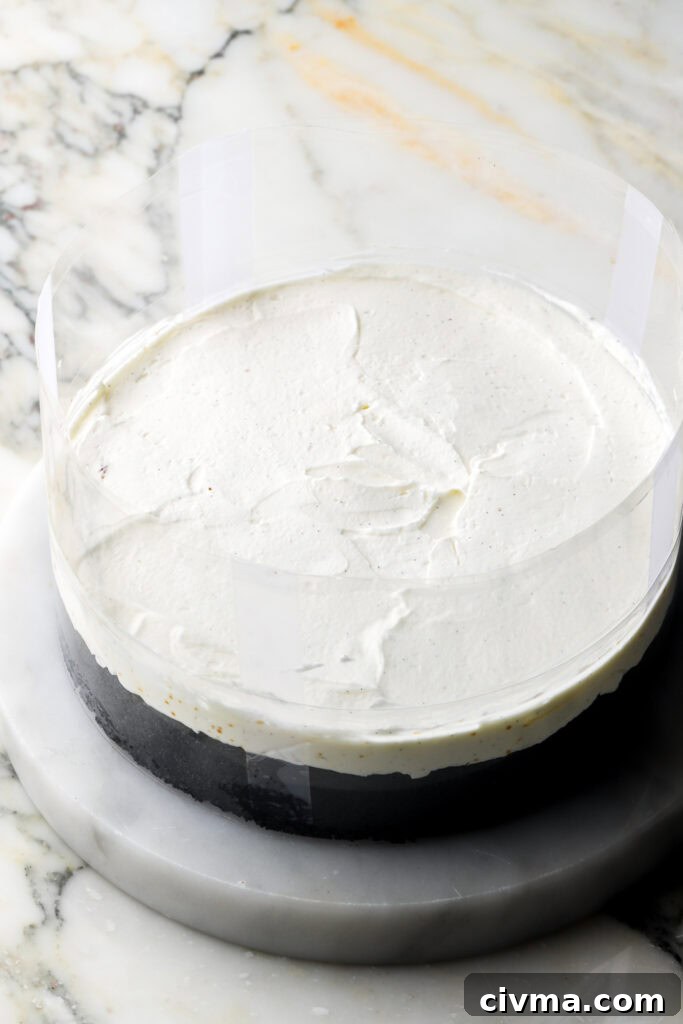
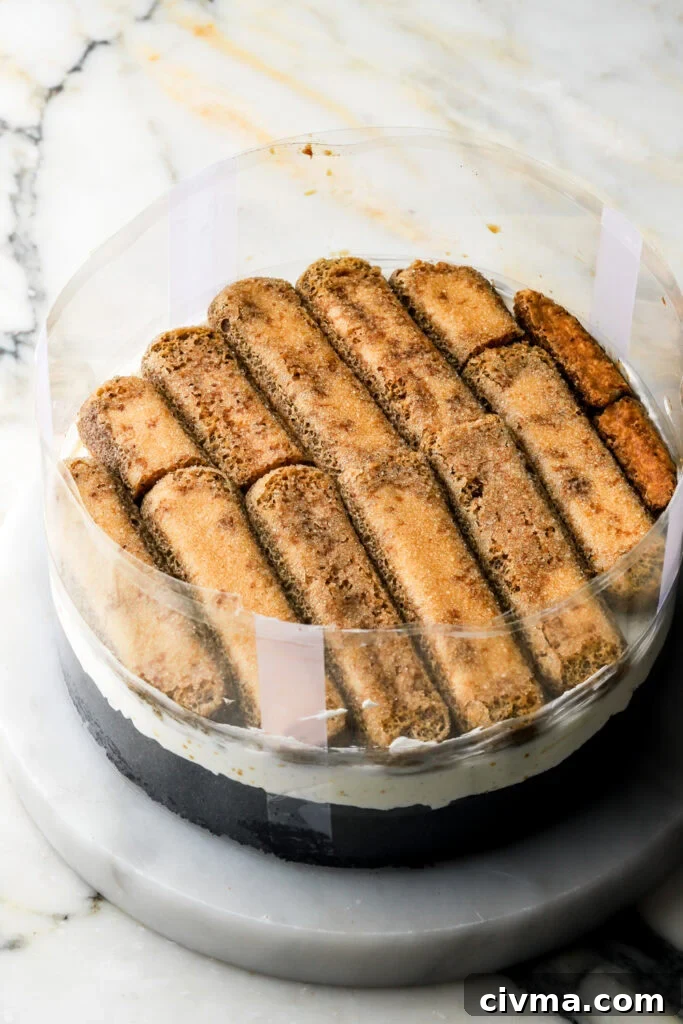
- Place the first cake layer on a flat surface and wrap a tight collar of acetate around it to create a straight-sided mold. If needed, overlap strips to reach the desired height and secure with tape.
- Brush 2–3 tablespoons of espresso across the cake surface, then spread about one-third of the mascarpone cream.
- Quickly dip each ladyfinger (about 1–2 seconds per side) and lay them flat over the cream; trim to fit. Spread another third of the cream over the ladyfingers.
- Brush the top (sliced side) of the second cake layer with 2–3 tablespoons espresso, flip it sliced-side down onto the cream, and spread the remaining mascarpone on top, creating gentle swirls for texture.
- Refrigerate, covered, for at least 8 hours (overnight is best). Before serving, dust the top with cocoa powder and remove the acetate.
Equipment Needed
Helpful tools for a smooth assembly:
- 9-inch cake pan (8-inch can work but 9-inch yields better proportions)
- Acetate cake collar or cake ring for a tidy straight edge
- Electric mixer or stand mixer
- Whisk, rubber spatula, and a digital scale for accurate measuring
- Springform pan (optional) if you prefer to bake and assemble in one vessel
If you don’t have acetate, pipe a stable border of mascarpone cream around the edge to hold the ladyfingers in place, then freeze briefly to firm the base before continuing.
A Note on Cake Size
I baked this batter in an 8-inch pan and sliced it in half to create a very tall cake. For easier slicing and more balanced layers, I recommend using a 9-inch pan. Baking times vary by thickness: thinner layers typically bake 20–25 minutes; thicker single layers bake 30–45 minutes. The cake is done when the center springs back when pressed.
Serving and Storage
Because this is a naked cake, it can dry out faster than a fully frosted cake. Store airtight in the refrigerator due to the mascarpone cream. Serve cold straight from the fridge, or let slices sit at room temperature for about an hour if you prefer a softer texture.
Thank you for reading. If you try this Chocolate Tiramisu Cake, I hope it becomes a new favorite — it’s indulgent, dramatic, and full of textural contrasts. Happy baking!
Love, B
Ingredients (Overview)
For full quantities and exact measurements, use your preferred recipe card. Key ingredients include:
- Black cocoa powder and cake flour for the chocolate cake
- Sour cream, oil, eggs, sugar, and hot coffee for the batter
- Cold mascarpone, powdered sugar, heavy whipping cream, and vanilla for the mascarpone cream
- Fresh brewed espresso, granulated sugar, ladyfingers, and cocoa powder for the soak and finish
Method (Quick Summary)
- Prepare and bake the chocolate cake, then cool and slice into two layers.
- Mix espresso with sugar and chill. Make mascarpone cream and keep cold.
- Wrap the first layer with acetate, brush with espresso, spread mascarpone, layer dipped ladyfingers, top with cream, then place the second cake layer on top.
- Chill at least 8 hours, dust with cocoa, remove acetate, and serve.
Notes
*Choose a mascarpone with a smooth, thick texture. If a brand is slightly watery, drain any excess liquid before using. For a less tall cake, bake the batter in a 9-inch pan or bake two thinner layers instead of one tall layer to make slicing easier.