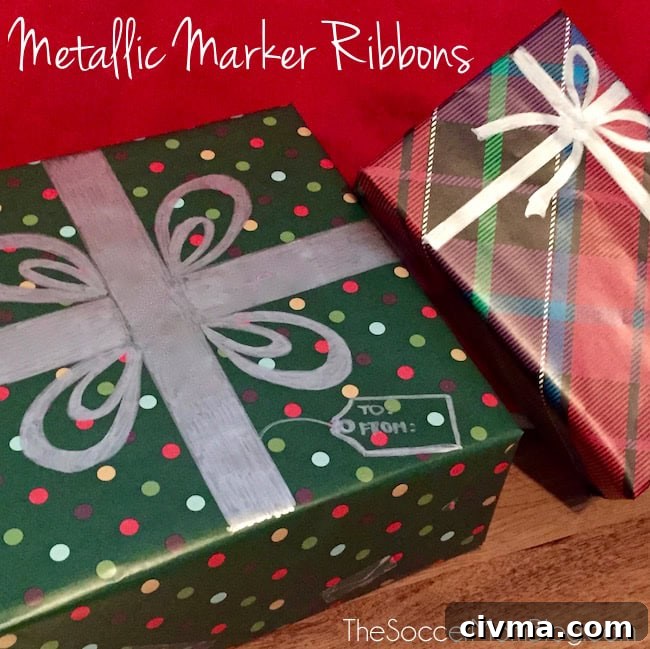
This is my first Christmas post of the season, and it feels a little odd to be talking about the holidays when it’s still warm outside. Even so, the holidays are a wonderful time of year, and getting a head start on festive plans can be both practical and enjoyable. With a little planning, gift wrapping can become one of the easiest and most satisfying parts of holiday preparation.
Last year I had recently left my job before Thanksgiving and I wanted to keep holiday spending under control. Embracing a simpler, more minimalist approach to the season led me to experiment with a frugal and easy gift-wrapping technique that I ended up loving. It was inexpensive, quick, and produced beautiful results, so I’ve used it again and again.
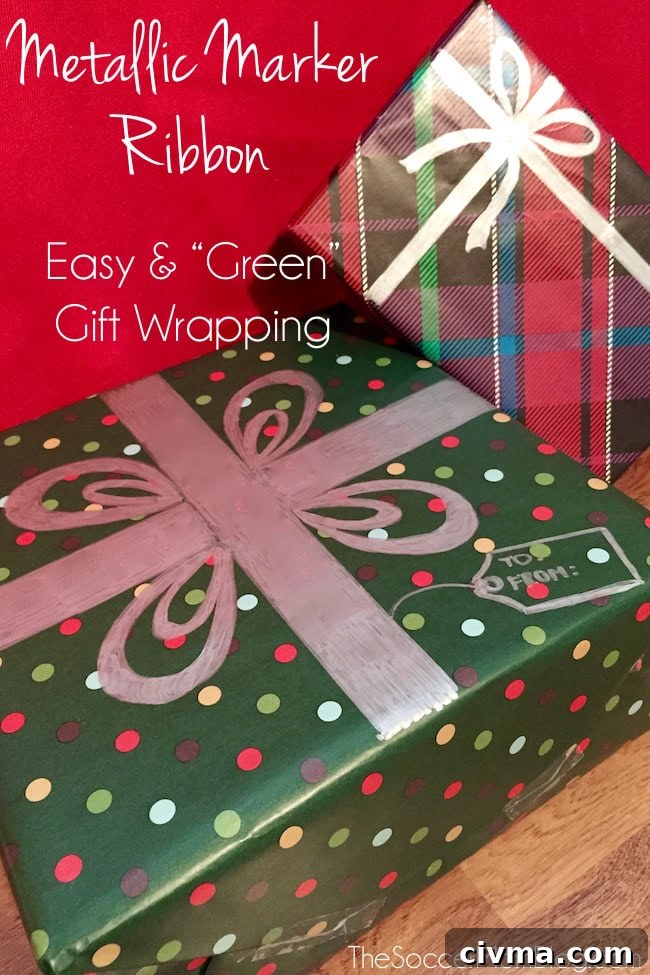
The best part was how simple it was to pull together a polished, festive look without buying a pile of ribbons, bows, or decorative tags. Not only did this save money, but it also created less trash once the gifts were opened. If you prefer to minimize waste and keep things streamlined, this approach is ideal.
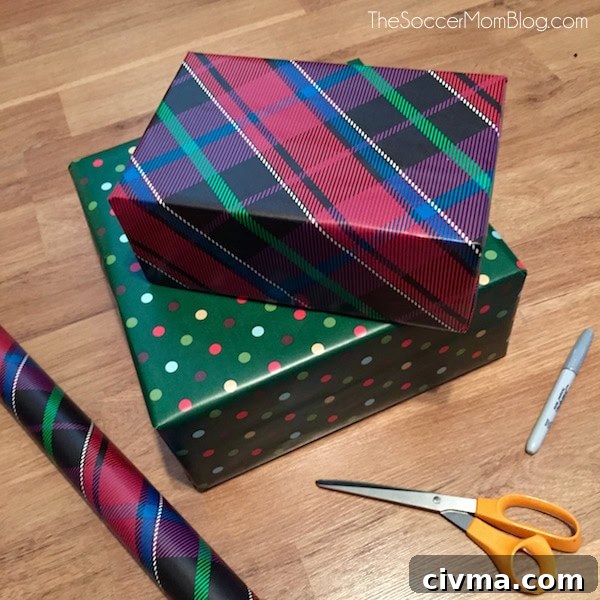
All you need for this Easy Christmas Gift Wrapping:
- Simple wrapping paper in a color or pattern you like
- A metallic permanent marker or metallic Sharpie for drawing decorative accents (these act like a quick, paint-like pen and dry fast)
- Scissors
- Clear invisible tape
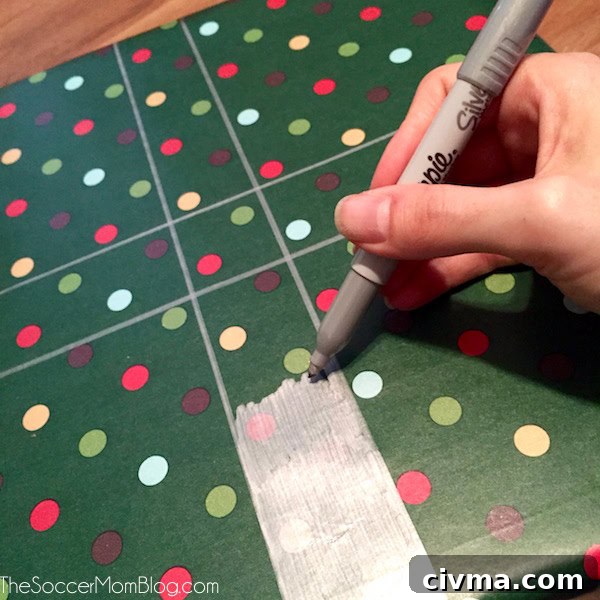
Wrap each present as you normally would. Instead of attaching physical ribbons and bows, use the metallic marker to draw the illusion of ribbon, bows, and other decorative elements directly onto the wrapped paper. For stronger coverage and a richer finish, apply two light coats of marker rather than one heavy stroke. This reduces bleeding and gives a neater appearance. Try a variety of shapes and widths — thin stripes, wide crossbands, or scalloped edges all look great.
When I first tried this method, I experimented with candy cane stripes, simple snowflakes, and looping bow shapes. The marker makes it easy to add small personalized touches, like initials, tiny stars, or a quick decorative border. Because you’re drawing the decoration, the possibilities are only limited by your imagination. You can keep the look monochrome and modern, or go bold with contrasting metallics over colored paper for a more festive effect.
This approach saved me time and kept me from wrestling with long lengths of ribbon and sticky bows. If you’ve ever found yourself tangled up or frustrated by traditional ribbon, this method eliminates that problem entirely. As someone who studied fine art in high school, I found the process creatively satisfying — it brought back the joy of drawing and made wrapping feel like a mini art project rather than a chore. I genuinely enjoyed wrapping presents instead of rushing through it.
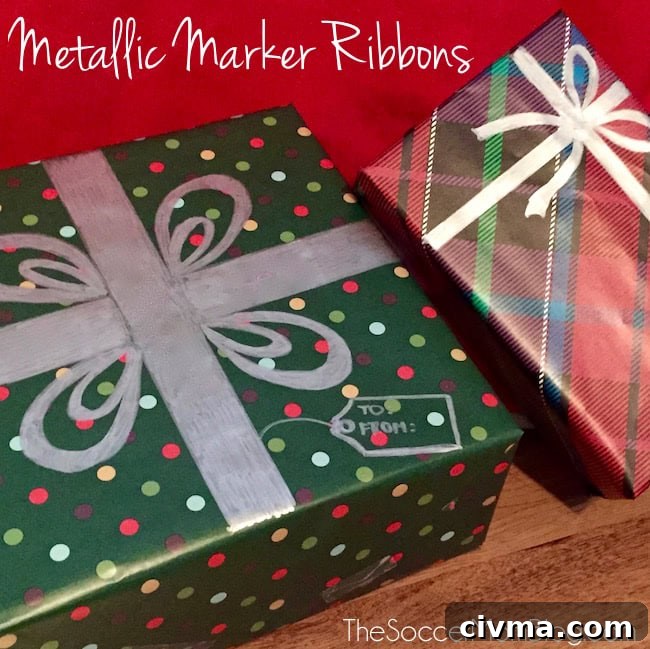
Tips for best results:
– Choose solid-color or subtly patterned wrapping paper so your marker designs stand out.
– Test the metallic marker on a scrap piece of the same paper to see how it dries and whether you need multiple coats.
– Keep the marker tip clean and cap it between uses to prevent drying out.
– For special recipients, write a short handwritten note on the package edge or on a small attached card to add a personal touch.
This technique is ideal for anyone looking to simplify holiday preparations: it reduces cost, decreases waste, and produces thoughtful, attractive results. Whether you’re short on time, trying to save money, or simply want to add a handcrafted feel to your gifts, drawn-on metallic accents are an elegant and practical solution. I plan to use this method again this season because it’s fast, fun, and consistently looks great.